Animgraph
What is the Animgraph
The Animgraph works as a node based system.
you have your final pose node, and going left up to each next node in your node tree it will either change the pose, or direct the flow of the nodes to the next pose altering node, until it reaches the end and giving you your final pose for the given rendered frame.
The Animgraph has the advantage over code of easily combining animations to create new poses, without the need to make a whole new animations just for it, or dealing with IK easily and so on, you can get easy amazing results using it.
like dabbing while walking!
No need for a whole new animation, just use the legs for the walk, and upper body for dabbing just blend between the dabbing and walking to combine them into a new pose!
Although the Animgraph is used instead of game code to control the animations, you can still set various parameters every frame. nodes can reference these parameters to see how they should blend animation, what animations to use and much more.
You can also choose to bypass this system altogether, either for performance or simplicity reasons. See this article: Animations without animgraph
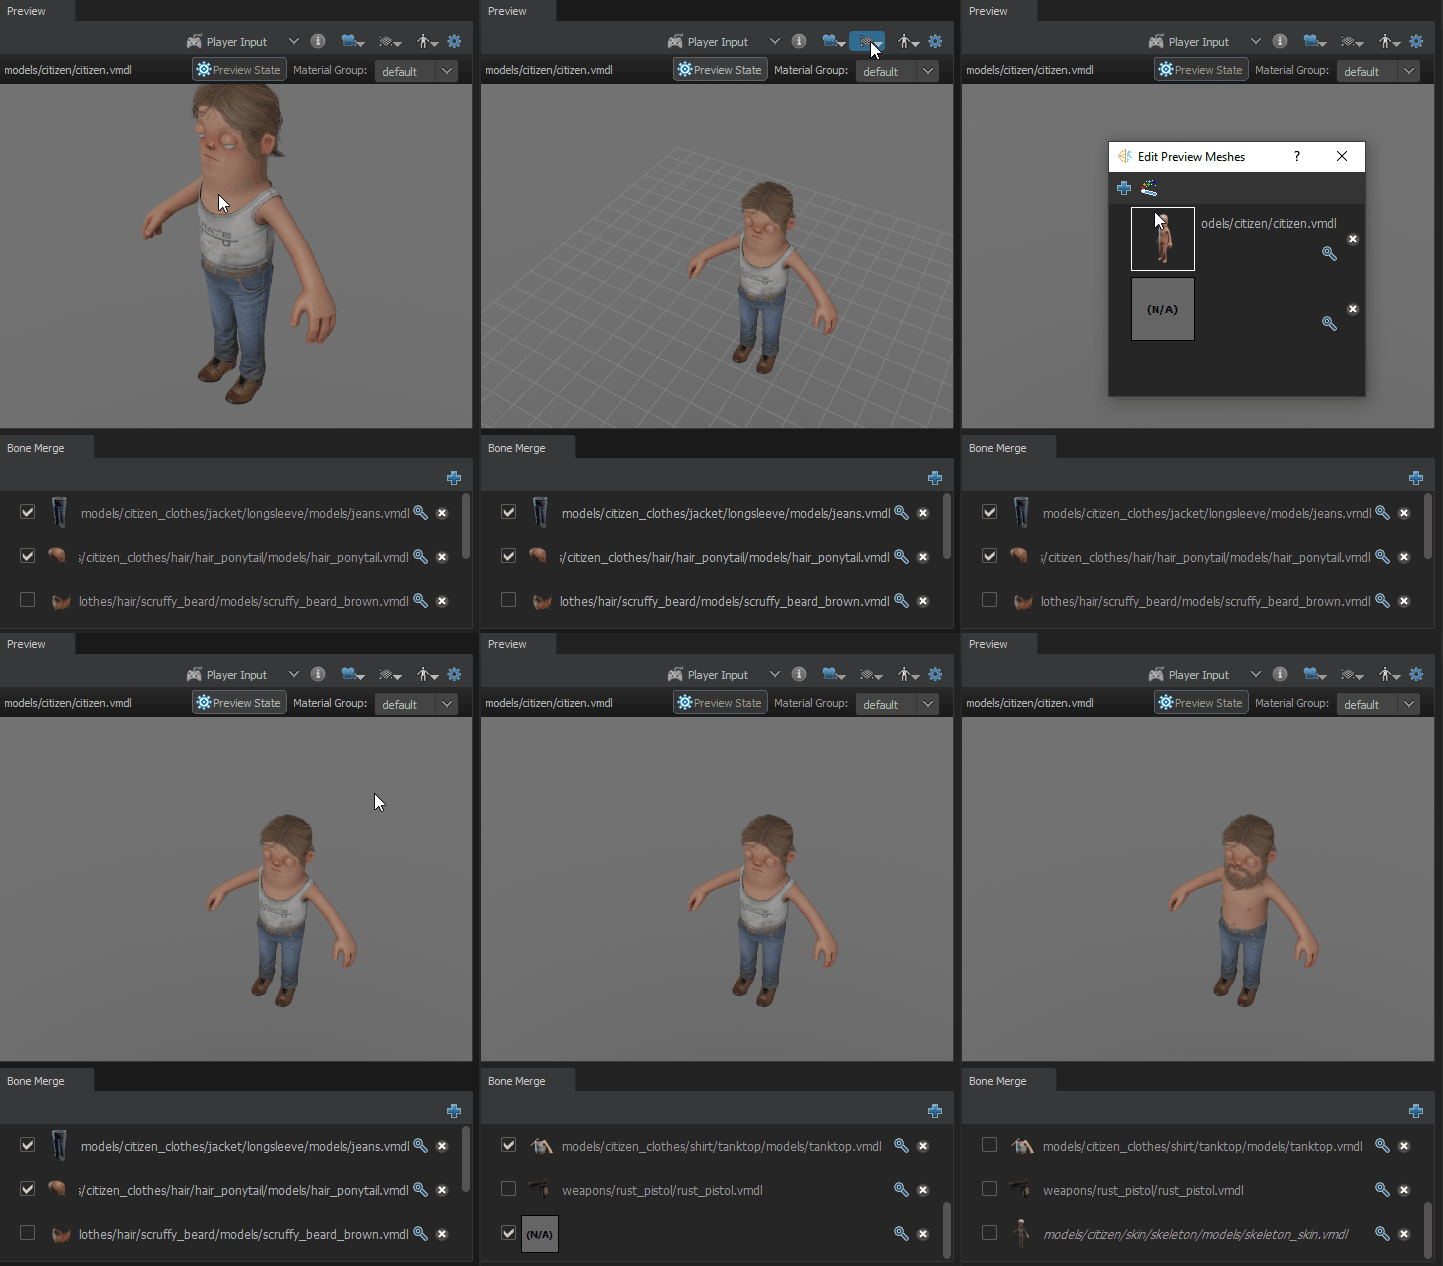
1 - Preview window
The preview window is Contains your model thats being animated within the animgraph. It is most useful when you are testing your final pose within the graph itself via playback control
2 - Main Inputs
3 - Motors
Motors are what deal with where the inputs for the graph come from.
For example player input motor - says the inputs for this graph is player driven. and will be receiving more direct inputs like forwards, back, left, right from the player.
Where the Path motors, says that this model will be moving along a set path instead of multiple directions, basically like an NPC.
Motors update twice:
- Before the nodes update, so that they can process any input from the game and make it available to the nodes
- After the nodes have finished updating, so that they can perform any necessary fix-up on the root motion calculated during the node update
4 - Parameters
Parameters are what you will use to communicate between your c# code and your Animgraph to tell it what is happening in game (jumping, running forwards, running speed, pose state)
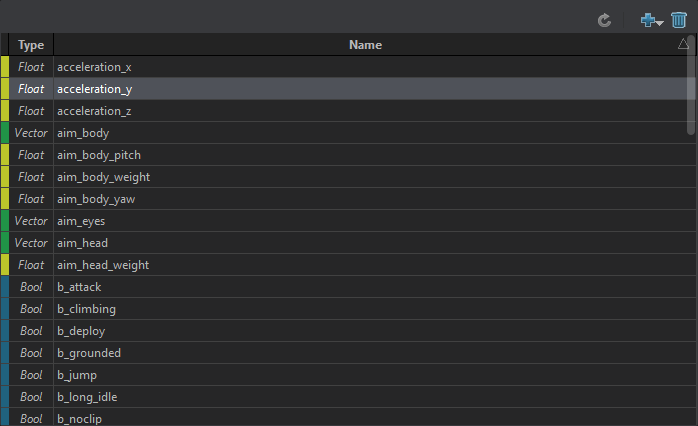
Parameters come in 6 different types, bool, enum, float, int, vector and quaternion. Each one having their own ideal reasons you would use them.
For example
- bool - on and off.
- Enum - to choose between multiple animation states.
- Float - precise vale input.
- Int - less precise value input.
- Quaternion - rotation input.
- Vector - position input.
When you create these parameters you will have setting on them pop up in the Properties window
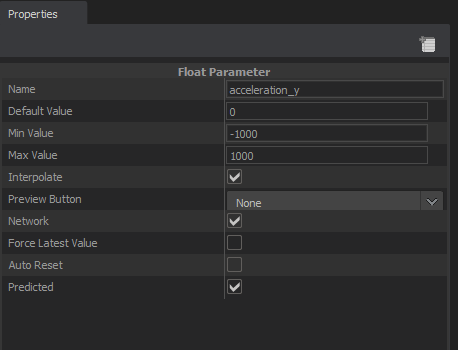
Here you can set base settings, value limits, networking and so on of this specific Parameter.
5 - Tags
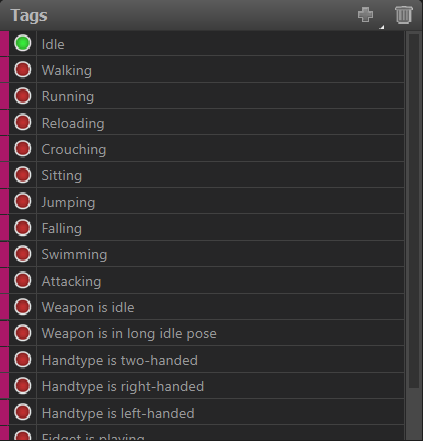
If Parameters are used for external code to communicate values INTO the animgraph, then Tags are mainly used for INTERNAL nodes to communicate OUT of the animgraph.
Tags can be changed by nodes, and then sent to other systems within the engine, its just a way to communicate an animation event thats happening to everyone else.
Tags can also affect nodes within the animgraph.
6 - Properties
The properties window allows you to change specific properties, basically settings within something selected that has properties like...
- motors
- parameters
- nodes
- tags
- animations
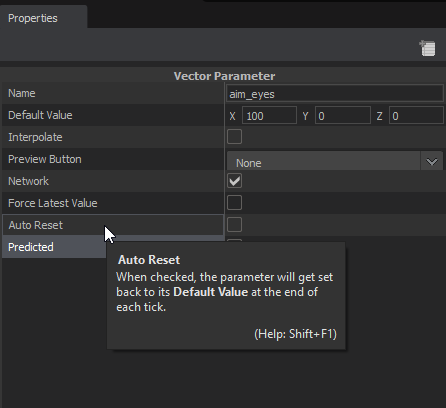
Obviously there are lots and lots of different properties that do completely different things between every different thing you select. but dont worry, most properties can be hovered over and they will have a description of what they do!
Like so!
7 - Properties Description / Preview window
If you dont see this window when you have something selected. you can view it like so.
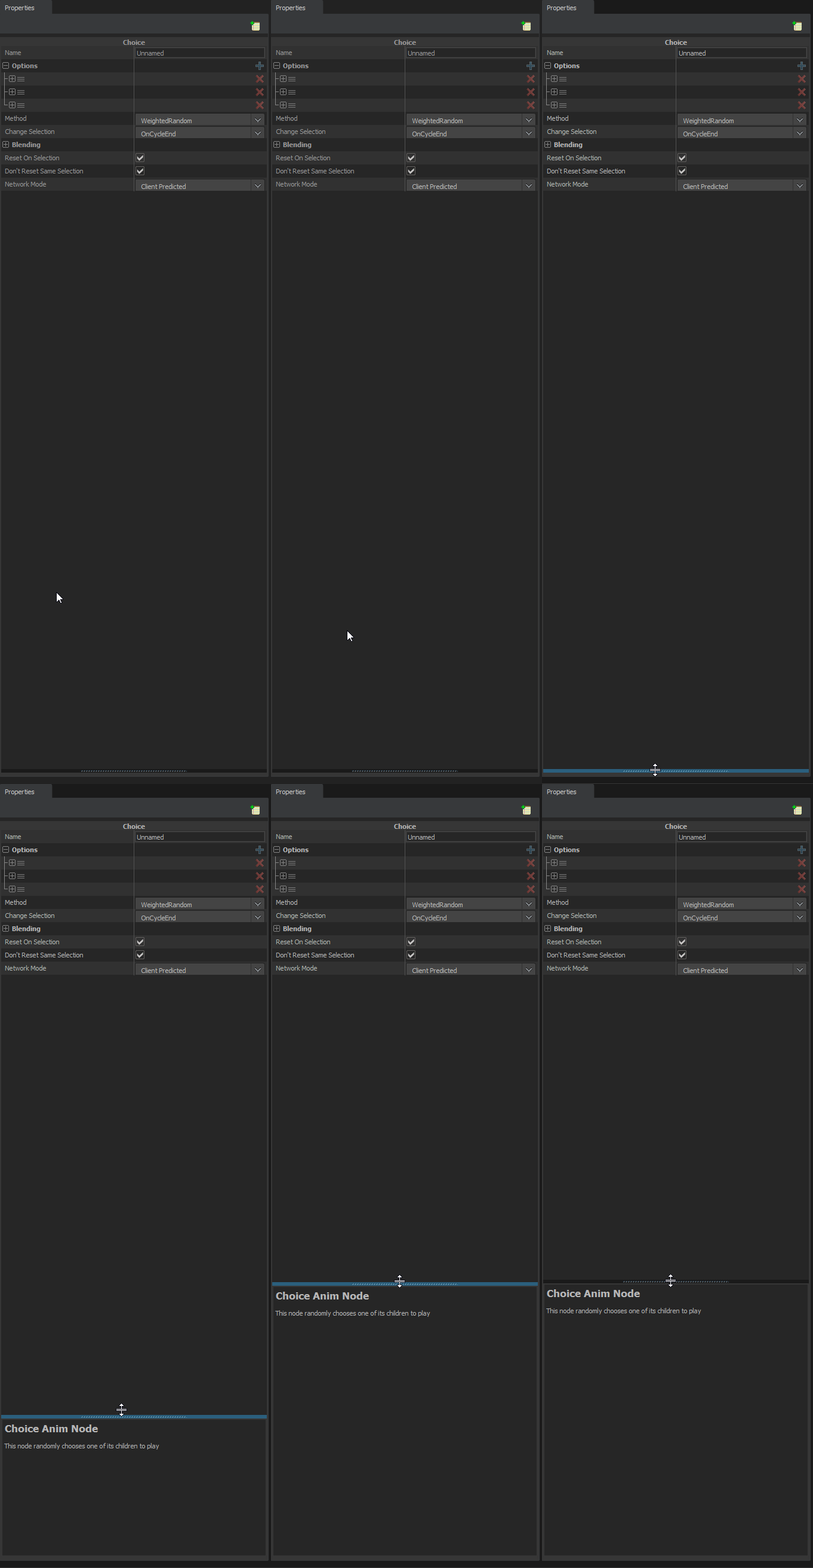
This little window will give you a description of selected thing, which you can look at if you are ever confused what a node does, it will have a description of what it does!
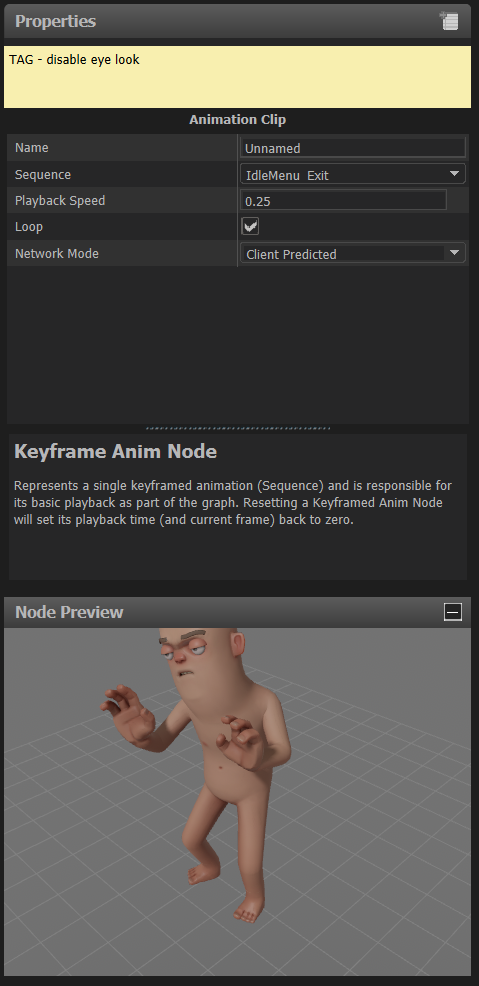
Also with certain nodes this window can become another Preview window for animations and so on, or will display a basic example of what's going on inside Complex nodes (like the state machine node) without having to double click and enter it.
8 - Node Workspace
This is where all your nodes are and connect together, here you will be creating, connecting and messing with all your nodes. here is a basic example of how it works
Note the workspace will change on nodes with a little white arrow on them. This little white arrow indicates you can go inside the node and do more!
9 - Playback Control
The playback control window allows you to preview what your animgraph will output without having to boot up a game and code inputs to the parameters.
it shows you a live path of your node final pose flow.
and allows you to easily set whatever values on your properties to see how they will change the final animation.
just click the little man and it will send you into playback mode.

as you can see its super powerful to quickly test your graph
As you can see, this is really useful to make sure everything is working right, and helps give an idea of what needs to be fixed.
10 - console
This is just like a normal console to spit errors out to you if anything goes wrong, but for the most part you dont need to have this open.
 Garry's Mod
 Rust
Rust
 Steamworks
 Wiki Help
 S&box
S&box