Tilesets-Proxies
If you are not already familiar with Tile Sets check the Tilesets page and the Tilesets-Advanced page.
Proxies
A Proxy is a special tile object that uses another group as a reference for what and where to put in the tile.
There are three different types of proxies: Tile Proxies, Group Proxies, Weighted Proxies.
Tile Proxies
Group Proxies
a Group Proxy is one of the simplest proxies to start working with. All this proxy does is take a reference group, and place a random object from that group in place of the proxy when the tile is placed.
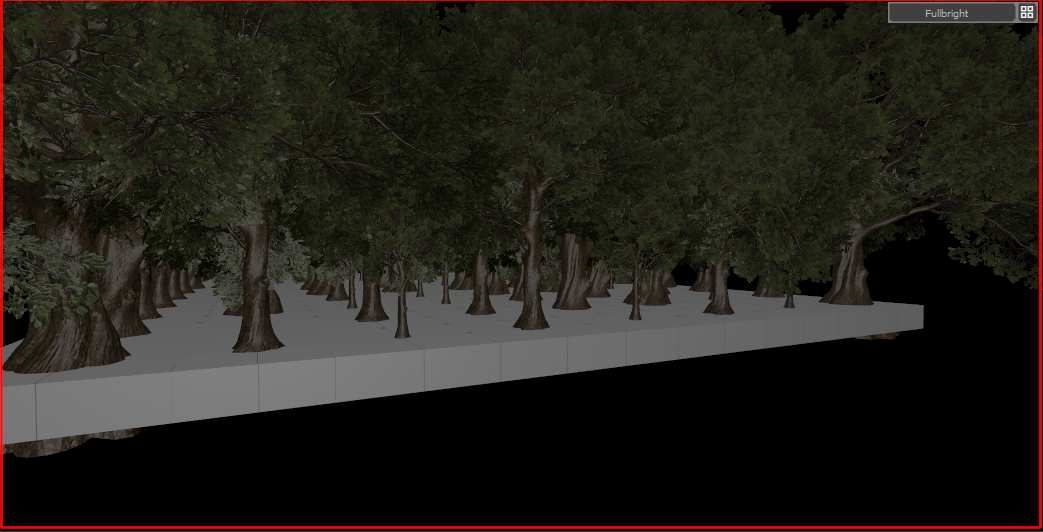
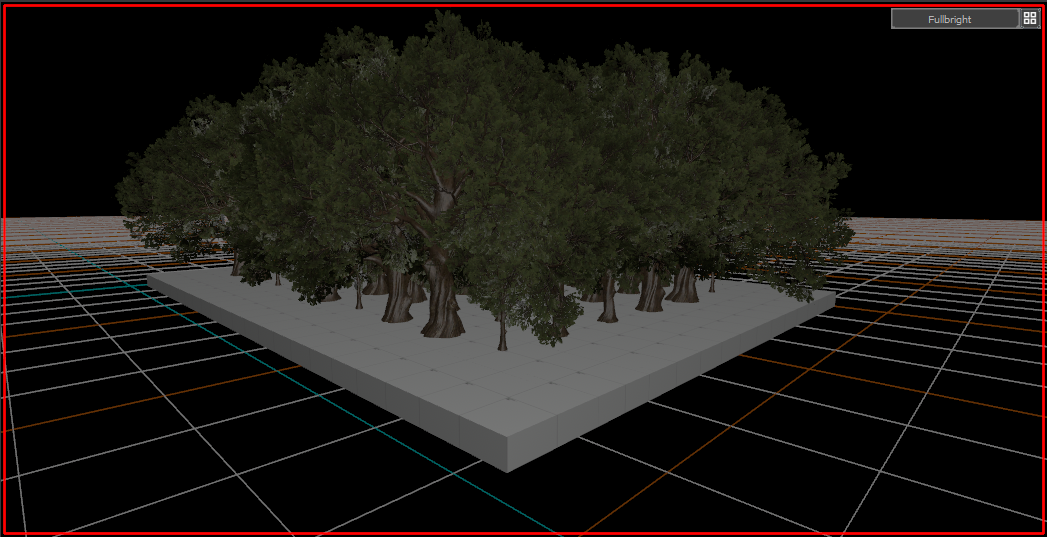
Lets make a very basic forest that places random trees on each tile.
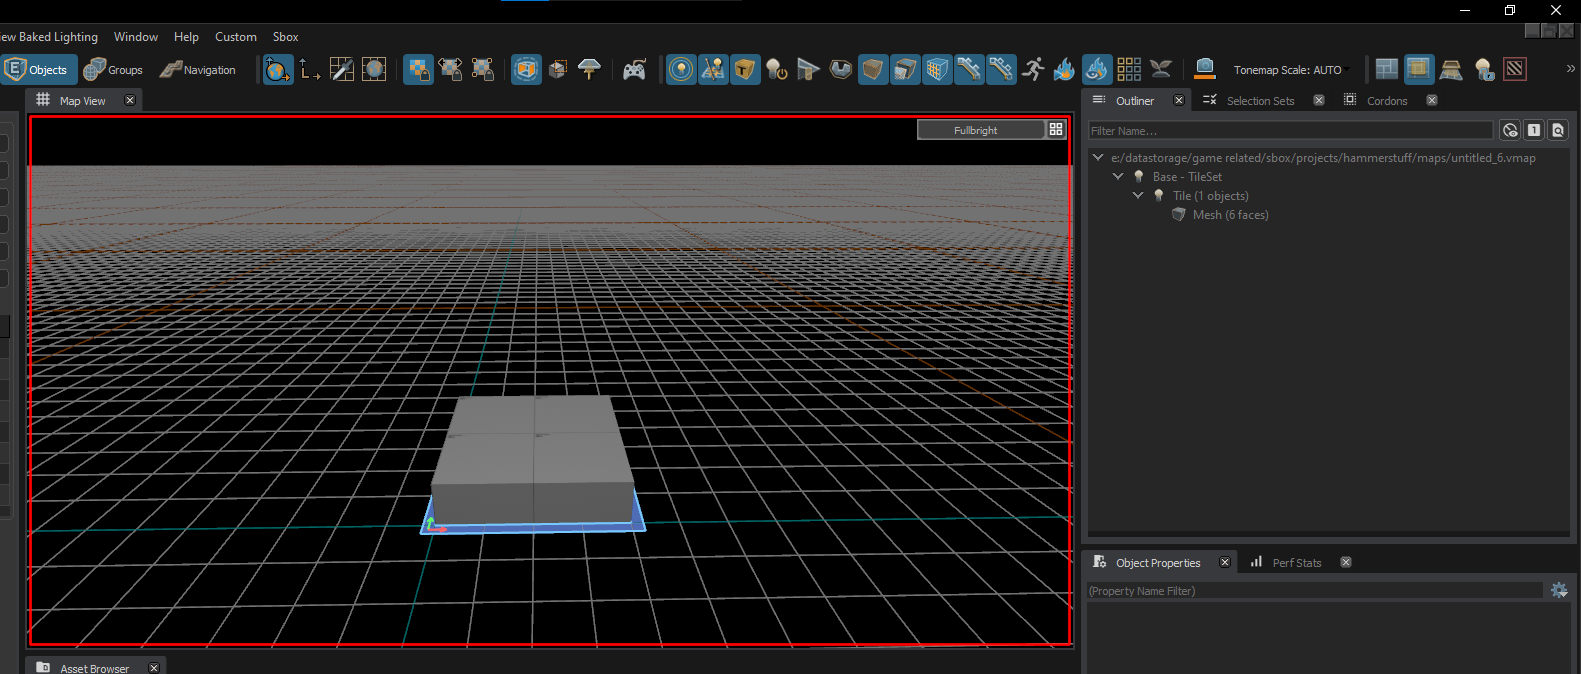
- create a Tile Set containing and Tile with a simple rectangle in it.
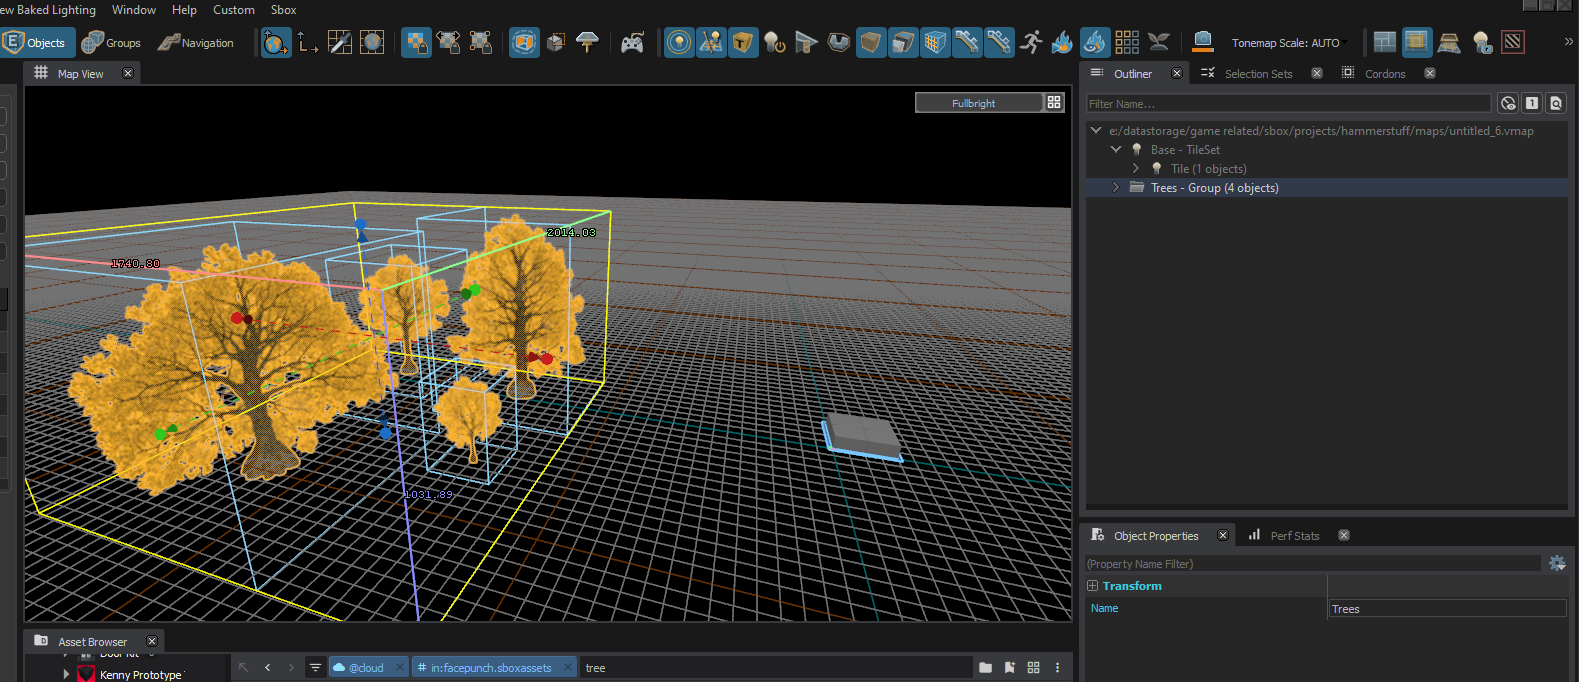
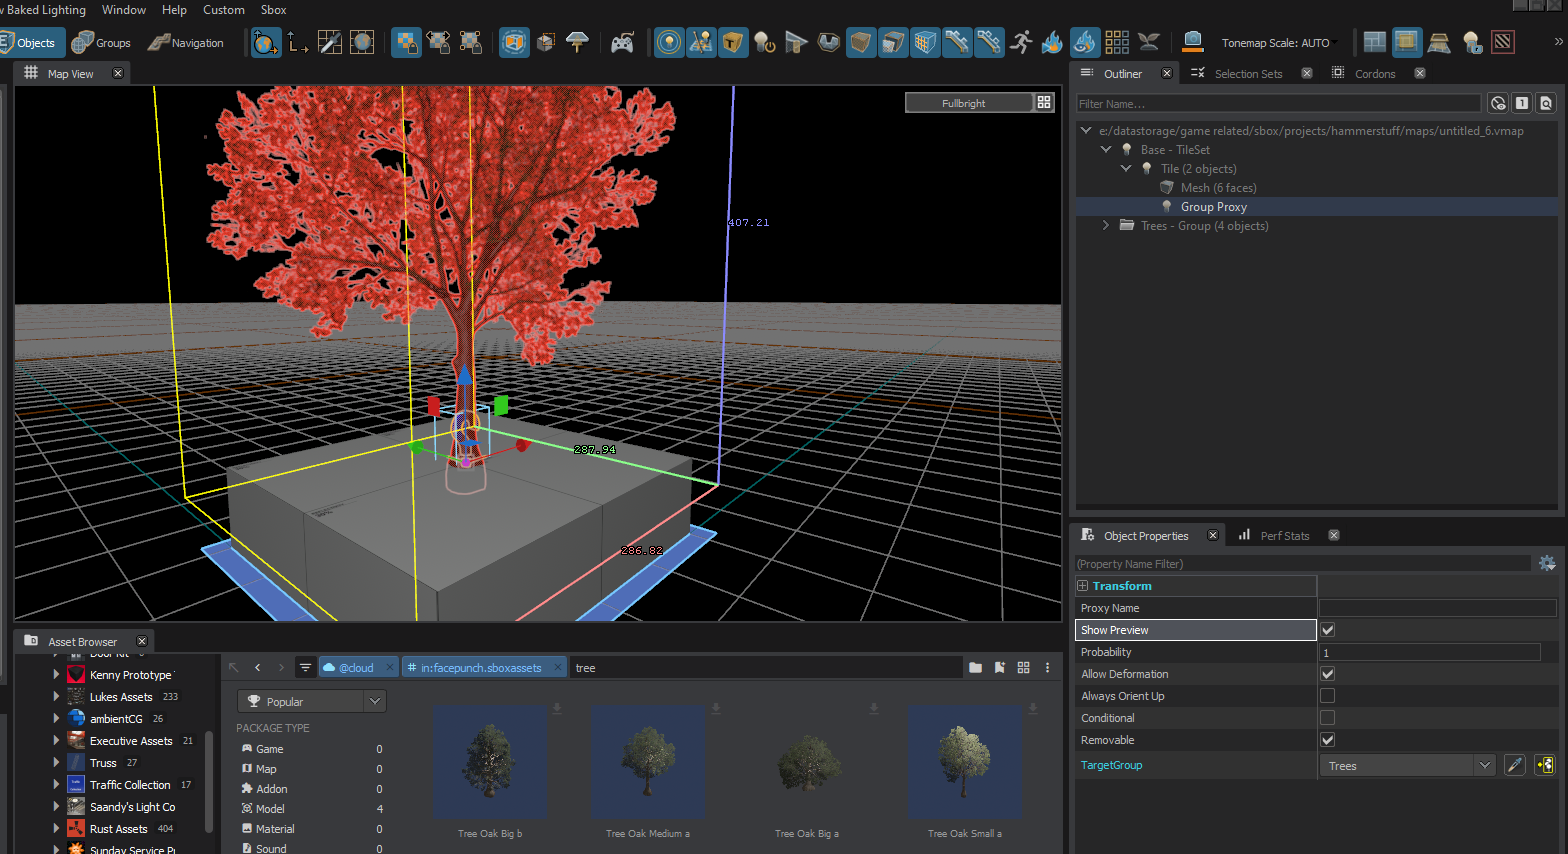
Find a few variations of trees from asset party and place them somewhere in the world. I will be using the 4 provided in the "S&box assets" collection from Facepunch
Once you have all your objects placed, select all of them in object mode and group them (ctrl + g). Then give them a unquiet name.
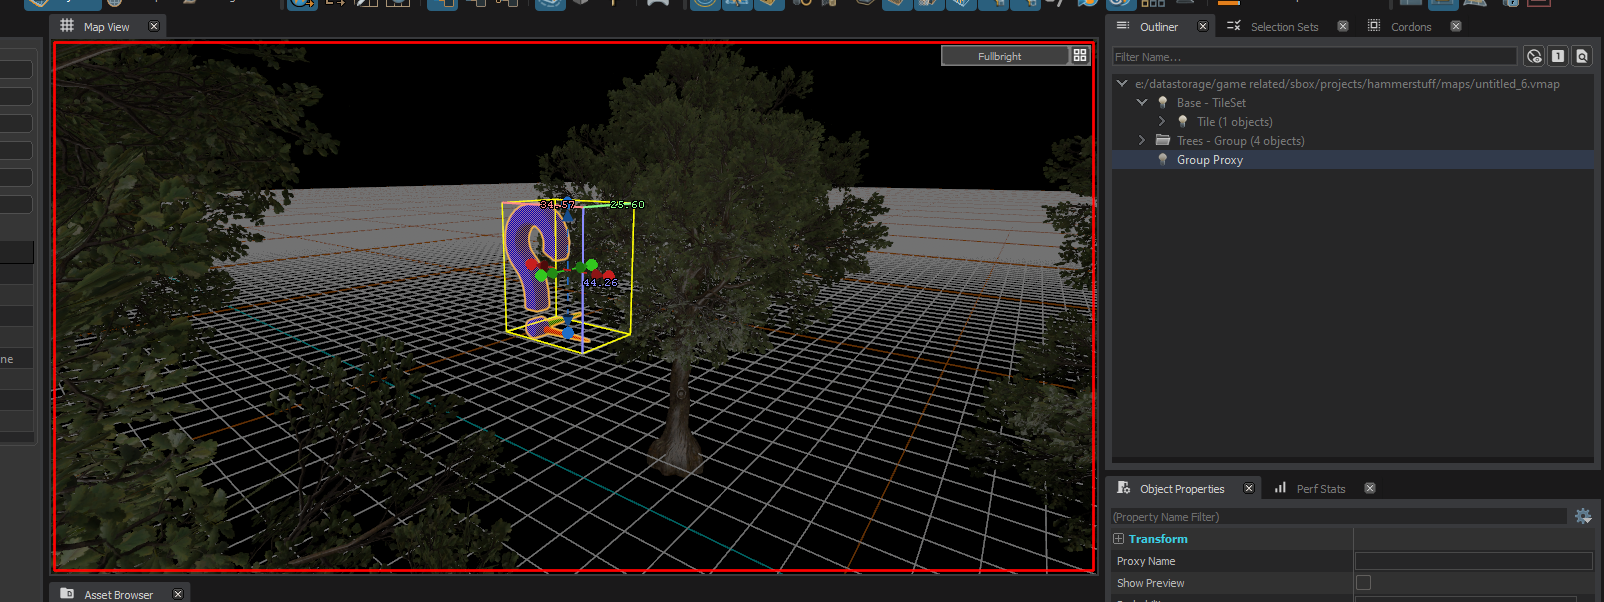
With the group selected in the outliner, Select Tiles -> Create Group Proxy.
This should place a blue question mark somewhere near the group.
Move this proxy to the tile
In the outline make the proxy a child of the tile you want to place it in
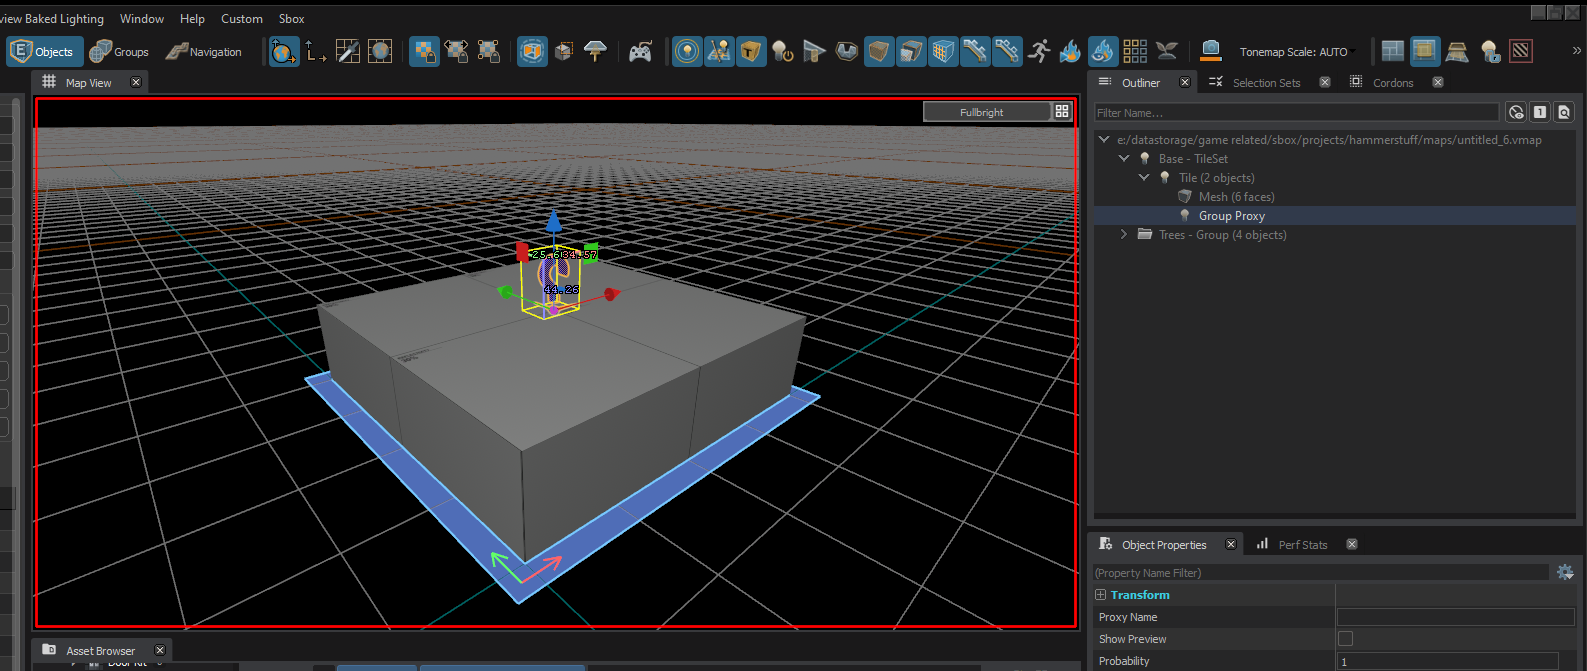
- In the proxy's object properties change the "TargetGroup" to the group we made ealier. (In my case this is "Trees")
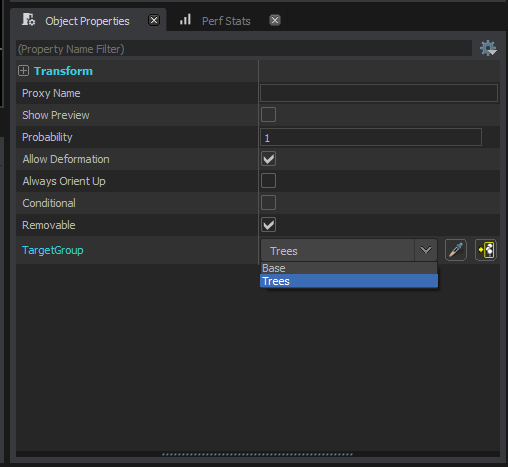
- Now that we have the proxy's reference group set we can now check "Show Preview" and it will display a random object from that group. ( I will cover the rest of the properties at the end )
- Once all that is done you can create your tile mesh and start using the tile set.
Group Proxy Properties
| Property | Description |
|---|---|
| Proxy Name | Use Given Name |
| Show Preview | Shows Preview of one of the options from the group |
| Probability | The probability this proxy places anything at all |
| Allow Deformation | |
| Always Orient Up | |
| Conditional | Sets the proxy to only work when properties from the tile set are satisficed |
| Removeable | |
| TargetGroup | The group the proxy will use when getting replace |
Setting up Conditionals for Group Proxies
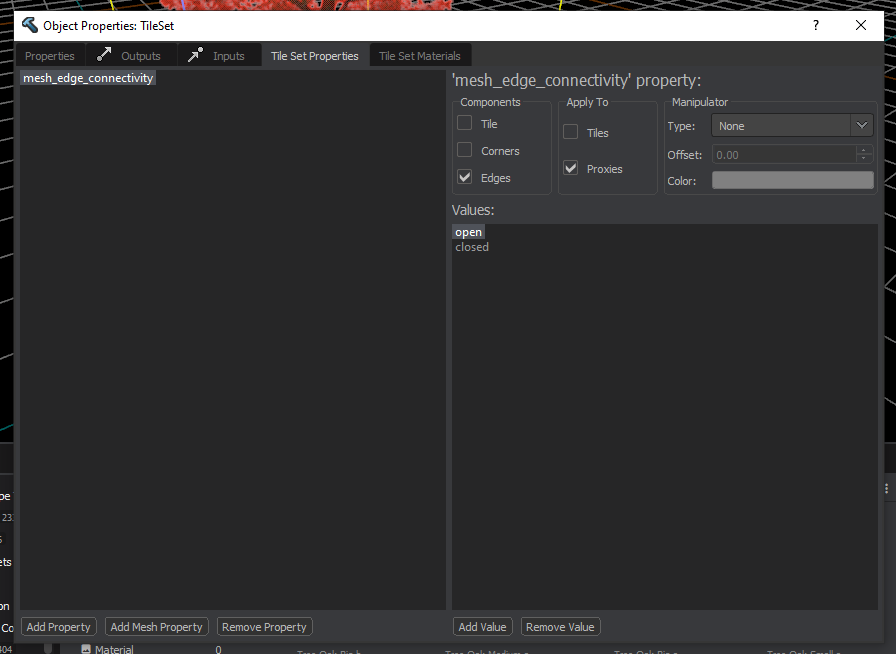
Go to the tile set Object Properties -> Tile Set Properties.
Add or Select the property you want the proxy to use
Under "Apply To" Check "Proxies"
Select the Proxy object, and check "Conditional" Property.
When you checked that the mesh property you applied to proxies in step 3 should have appeared.
Set up the proxy conditions the same way you would a tile.
Now the Proxy will only appear when the condition is met.
In this picture I used "mesh_edge_connectivity" and set all conditions to closed, meaning trees wont spawn along the edge of the tile mesh.
 Garry's Mod
 Rust
Rust
 Steamworks
 Wiki Help
 S&box
S&box