Overview of Models
A beginners guide to models
This guide assumes you've already created a model or imported a model.
Materials
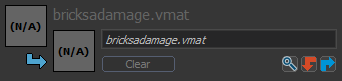
If you want ModelDoc to use your material names, simply add a new type by right clicking on the left side of the interface and adding a DefaultMaterialGroup.
Click on it and then simply clicking on the magnifying glass icon and looking for the material that we created earlier. It should look something like the picture below.
You can now compile your model and at this point you should be able to see it in the viewport with it's proper textures. You can fine-tune the materials through material editor and check the differences in real time.
Material Groups
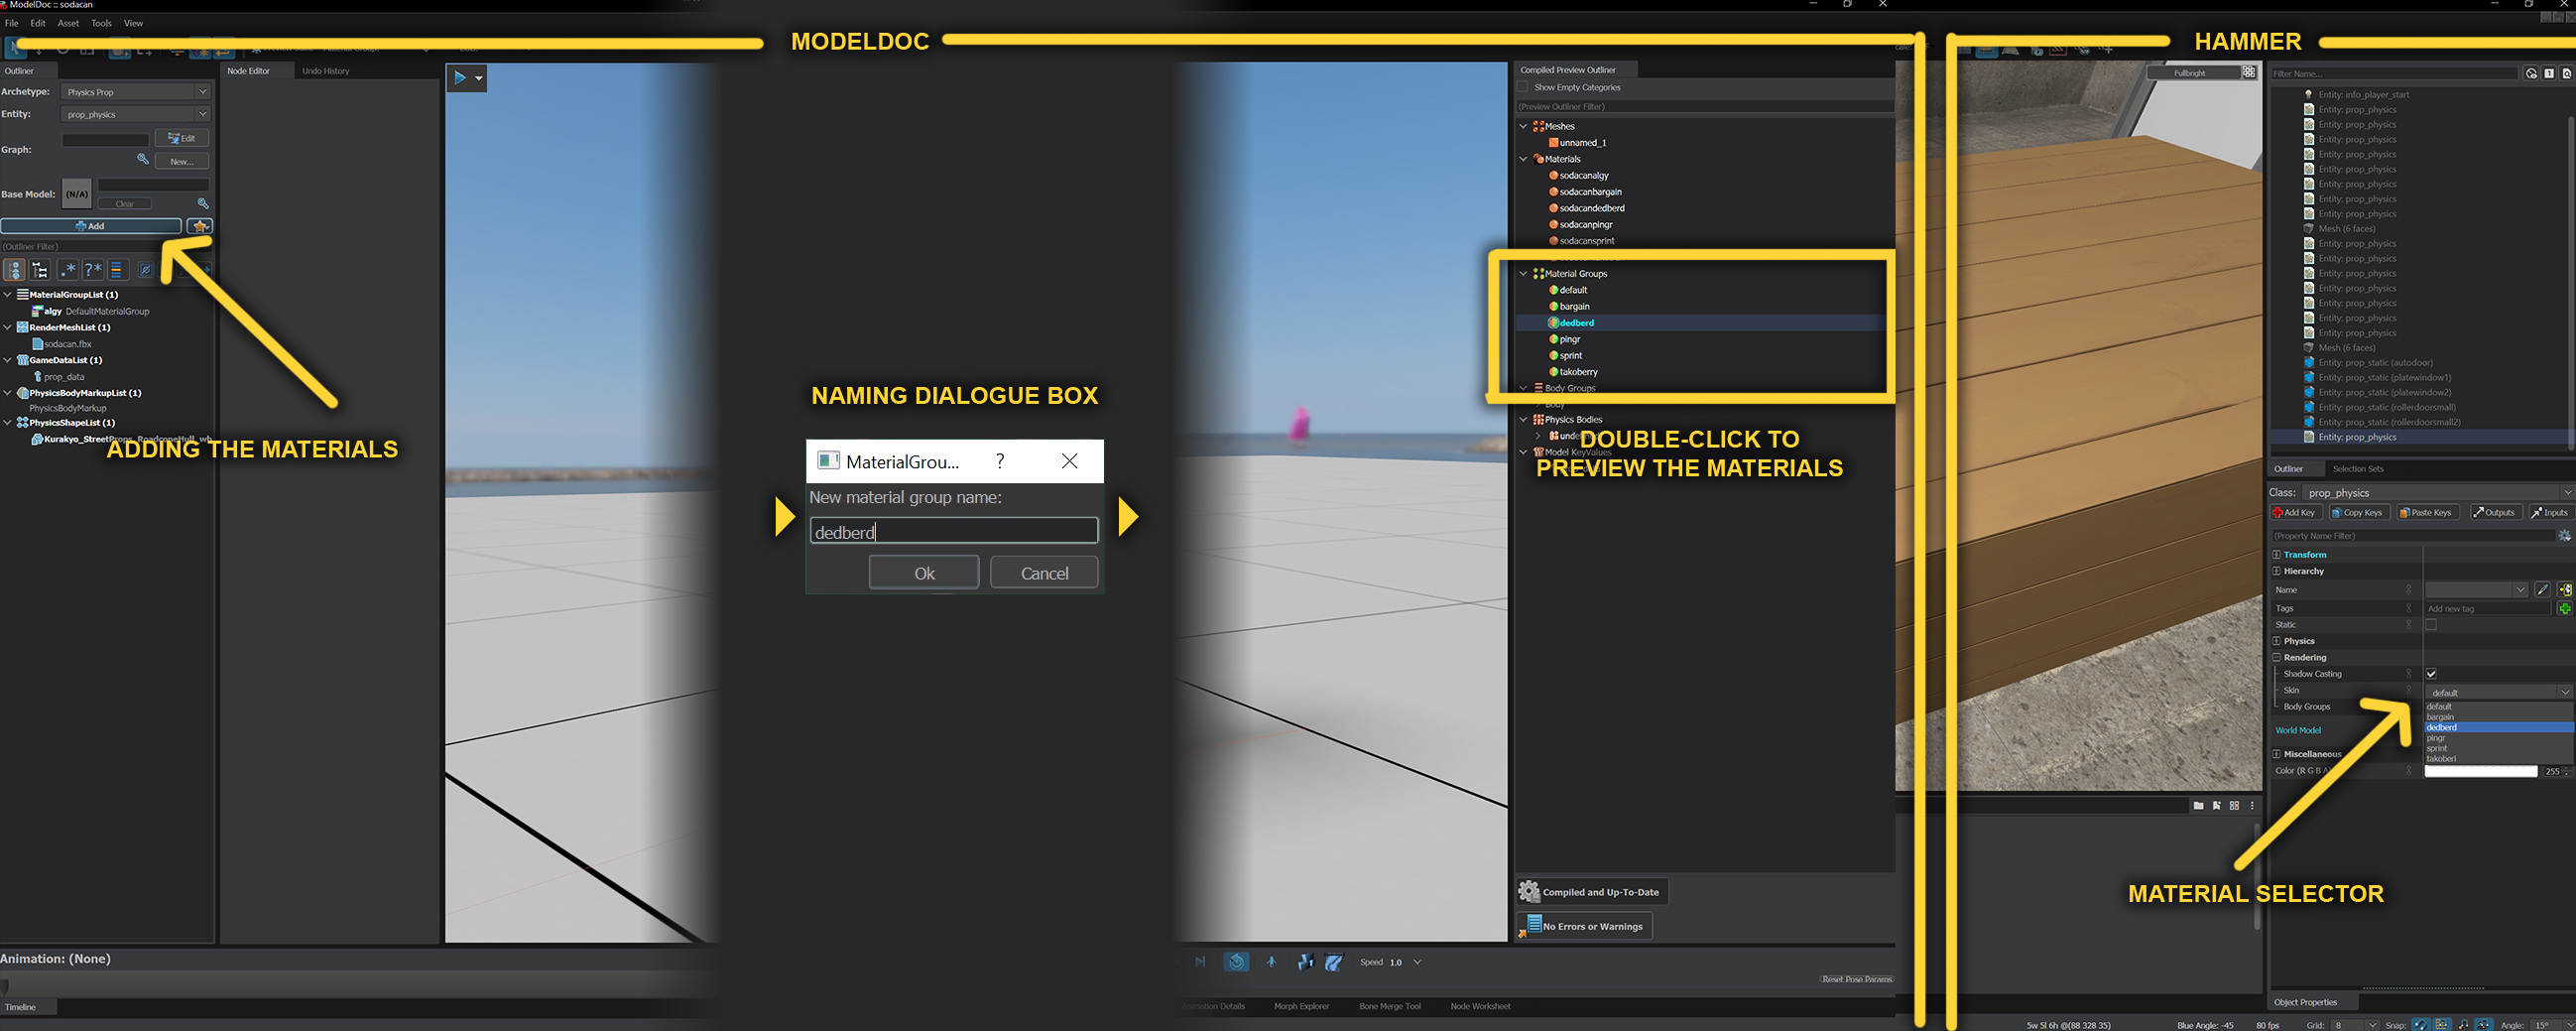
Adding multiple selectable materials to a model is a good way to keep resource cost & the number of files to manage to a minimum.
This is done by adding 'MaterialGroup' nodes in ModelDoc. A dialogue box will appear for you to enter the name the material will appear as later on. They can then be previewed by double-clicking them in the Preview Outliner.
Choosing which material is used for each individual prop when editing in Hammer is done through the drop-down menu in the Rendering section of the Object properties window.
Having the ability to change this selection within the game itself is also possible, e.g. clothing colours etc but that is beyond my feeble knowledge.
Physics and Collisions
Adding physics to your model is covered on this page.
LODs
You can learn more about LODs on this page.
Prop Data
Prop data allows you to add different properties to your model, which can be used when your model gets spawned as a prop. This is covered on this page.
Attachments
Attachments allow you to specify positions on a model for use within code, which means that you can do things like spawn particle effects from them - which is great for making bullet casings fly out of a gun, for example. You can read about attachmens on this page.
 Garry's Mod
 Rust
Rust
 Steamworks
 Wiki Help
 S&box
S&box