Overview of Materials
A beginners guide to materials
This contains all of the basic information about materials. This guide assumes you've already created a material or imported a material.
Texture naming conventions
The following texture naming conventions are typically used - they're not required, but highly recommended, since they allow the game to recognise your textures automatically when making materials.
| Texture type | name |
|---|---|
| base color / diffuse / albedo | name_color |
| texture mask¹ | name_mask |
| normal map | name_normal |
| roughness / glossiness map² | name_rough |
| metallic map³ | name_metal |
| ambient occlusion map³ | name_ao |
| blend mask⁴ | name_blend |
| height map⁵ | name_height |
| transparency / translucency / opacity map | name_trans |
| self illumination / emissive map | name_selfillum |
| freedom of motion map | name_freedom |
¹ Used as a Tint Mask for coloring in Hammer mostly.
² The glossiness map is the inverse of the roughness map, so the image needs to be inverted before using it.
³ Make sure to enable the respective texture in the left PBR menu.
⁴ pretty much a texture mask to help make the blend between two textures nicer.
⁵ Can be used in the Complex shader when the Parallax Occlusion Render option is ticked.
It is recommended to never go higher than 4096 for performance reasons, try to keep most textures within the 256 - 2048 range, 2048 pixels for every 128 hammer units tends to look and perform best
What shader should you use?
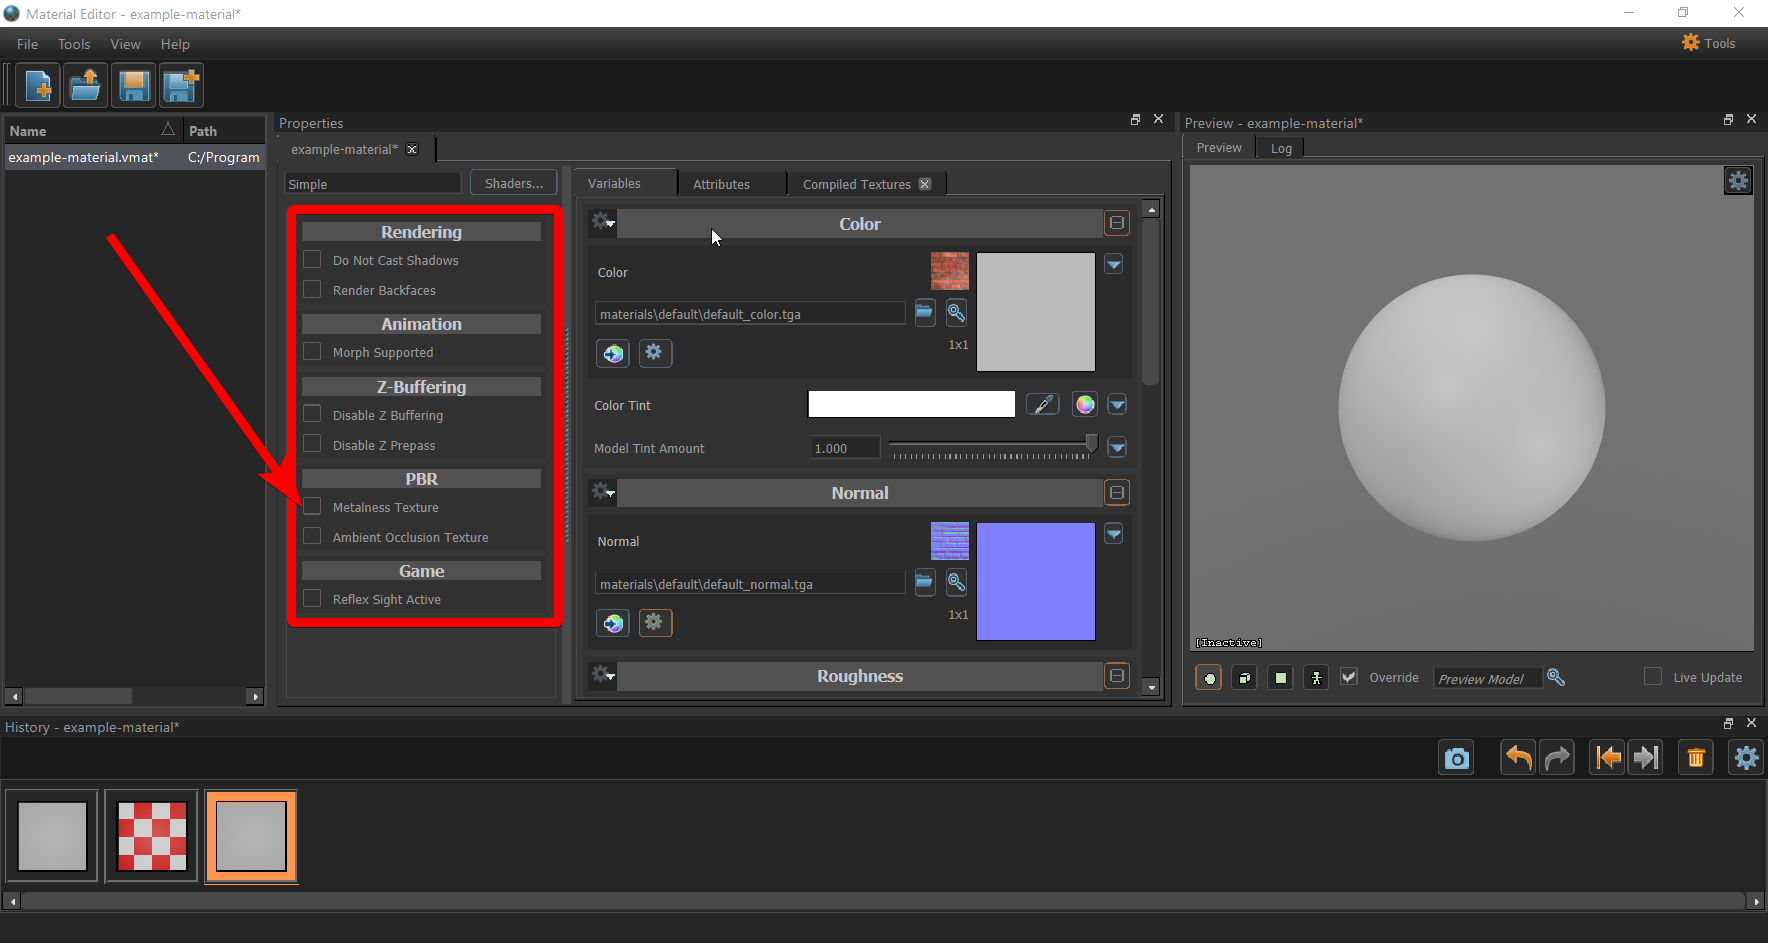
You can click the button in the top left corner of the material editor to change shaders.
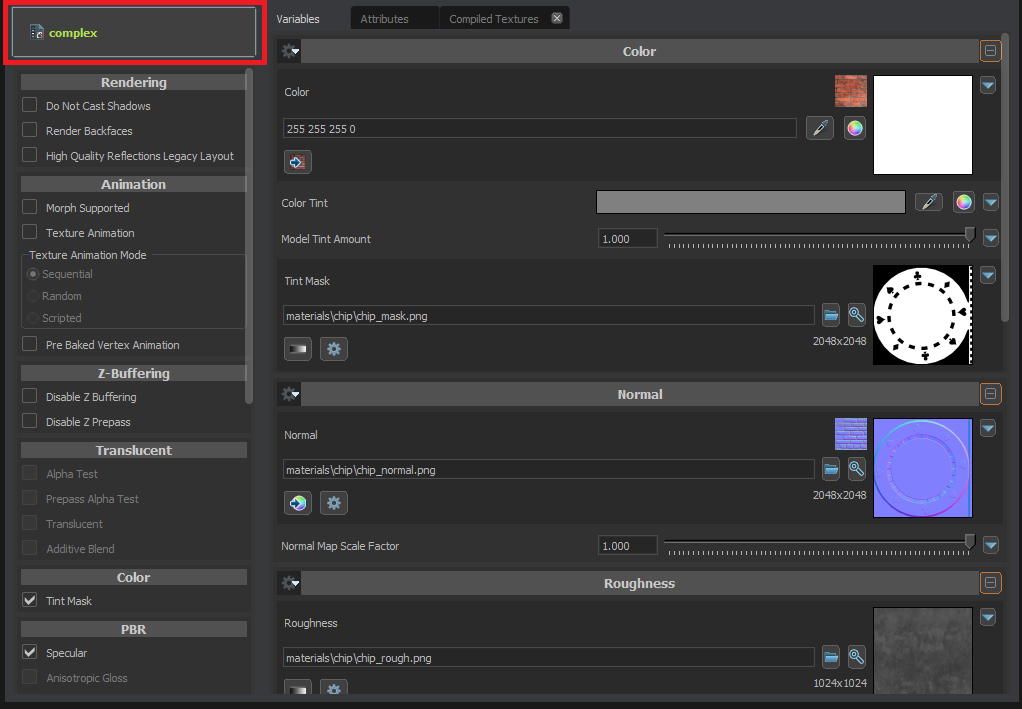
The following shaders are included by default - for most purposes you'll either want Complex or Simple.
| Shader | Use/Description |
|---|---|
| Blendable | This is for when you want to make a material to be used in a map, it can blend between 4 materials aka layers in one go, e.g. for a dirt and road, it will smoothly blend between without custom textures or modelling trickery needed |
| Complex | This is similar to simple although gives more options for what you can adjust and do, like more texture input types and so on, so if simple does not have the option you need complex most likely will |
| Eyeball | Generic eyeball shader for your characters |
| Glass | Standard glass shader that will do the job in most cases. |
| Projected Decals | here is where you would make your decals, unlike others trans map does not make its translucent on the material, stays white, but it is translucent in-game don't worry |
| Simple | This is your go to shader, if its for a simple job like a basic material with only a couple of texture maps, then this shader will do the job for you |
| Skin | Shader for skin/flesh materials. |
| Sky | This is for skyboxes, it accepts parallax style skybox textures in either 4x3 cube or 2x1 equirectangular format (2048x1536 or 2048x1024) |
| Static Overlay | Shader for rendering static overlays placed in Hammer. |
| Water | Fancy Water for s&box |
Adding Textures
Lets say for now you only need the simple shader, lets have a look at it.
There are three ways to add textures:
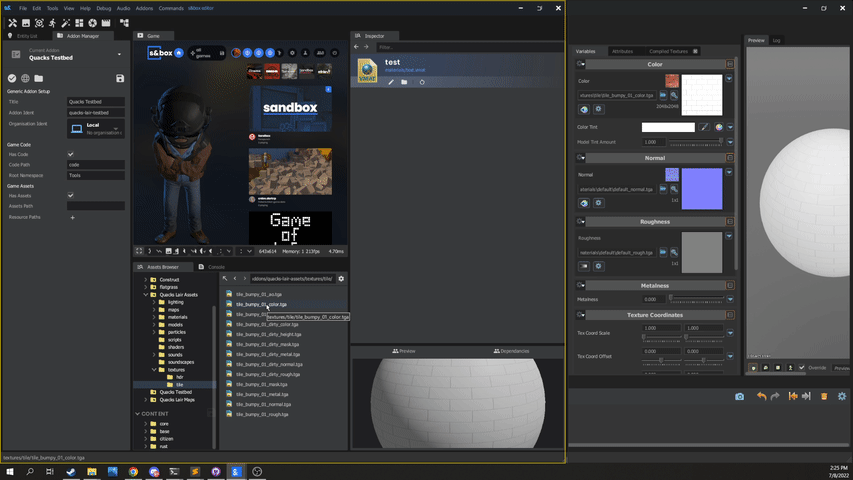
- Drag your texture from any Asset Browser Instance:
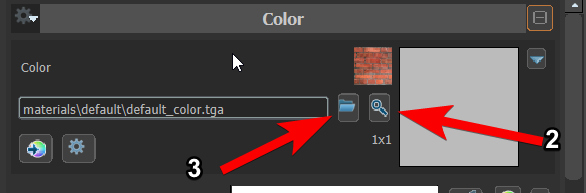
Click the Magnifying Glass next to the folder path field and open a Asset Browser popup window.
Click the folder icon next to the magnifying glass and open your File Explorer.
In some cases, you will need to enable shader features on the left in order to use specific textures - for example, Ambient Occlusion or Metalness textures.
Saving and compiling
ctrl + s will save your material to disk. If things aren't looking right, click File, Force Compile to Disk in order to force the material to re-compile.
 Garry's Mod
 Rust
Rust
 Steamworks
 Wiki Help
 S&box
S&box