Creating a Model
A Project
To import a model you first need a Project. This can either be a Game or a Content project, but you need somewhere to create your model.
Model Files
You should put your source files in the Assets folder somewhere. The path is up to you. A models folder is usually lovely.
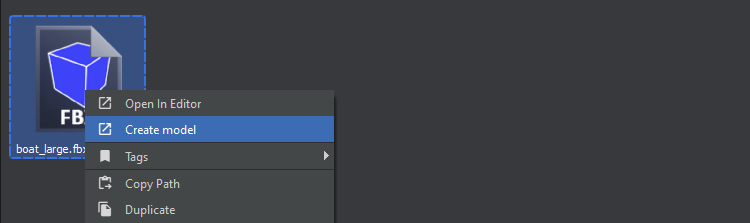
Once the files are where you want them, find your main model file (usually a fbx) and right click in the Asset Browser. Choose Create Model.
Model Doc
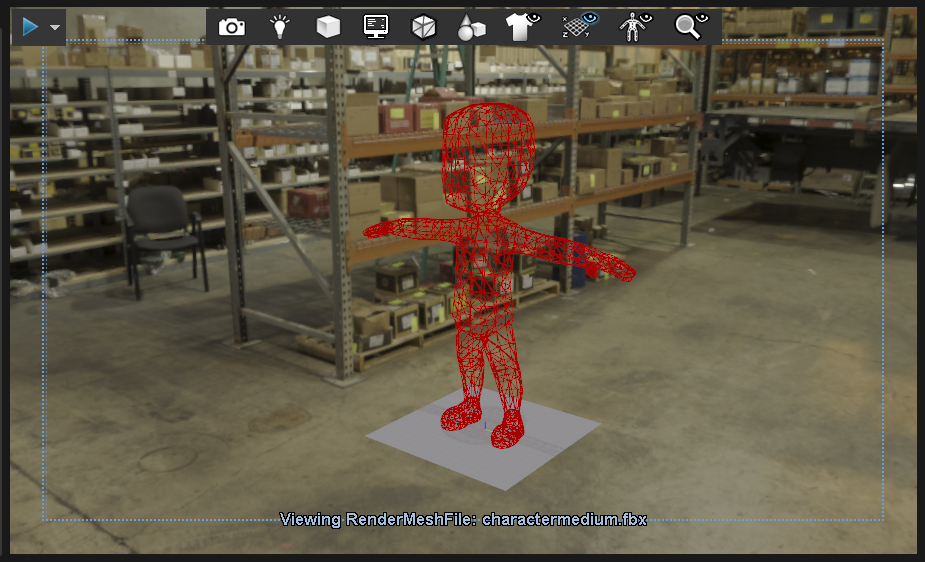
You'll now have ModelDoc open with nothing in it. Click Compile on the right.
Now you'll likely have a model that is wireframe flashing red. This is because it doesn't have a material.
Assigning a Material
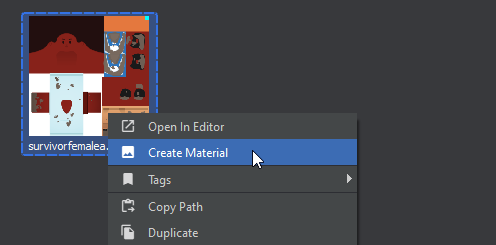
To create a material, right-click on the texture you want to use and choose Create Material.
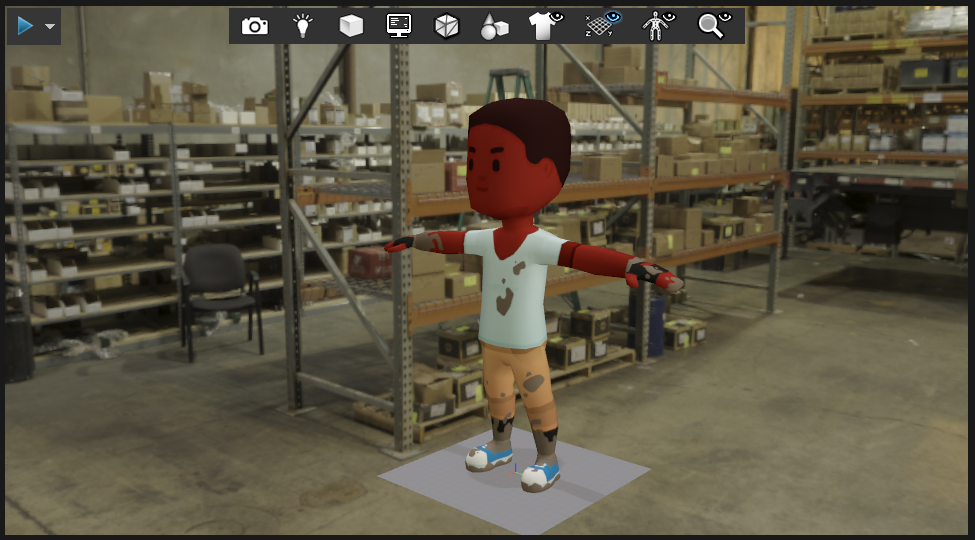
From there, back in ModelDoc, you can choose the DefaultMaterialGroup node on from the tree on the left, and choose the missing material using the magnifying class icon. You can also drag and drop the material from Asset Browser to here.
Click Compile again - and you should be set.
Nodes
The node tree on the left allows you to modify and add to your model. There are a LOT of nodes here and a lot to explore. That's something you should have fun exploring.
One thing you might want to look at immediately is choosing your model in the RenderMeshList tree and checking the import scale. You should choose the units that the model was created in.
Testing
You can view your model in ModelDoc, or you can drag it to the game view to test it.
Publishing
To publish your model, open the Project Settings window for your model, and then click Upload to Asset Party from the menu on the left.
 Garry's Mod
 Rust
Rust
 Steamworks
 Wiki Help
 S&box
S&box