Revision Difference
Creating_Skins#551601
<cat>Dev.Skinning</cat>
# Getting Started
Open the game and click the workshop button.
<upload src="21/8db3fdef1152a8e.png" size="2920874" name="image.png" />
You can use this section to preview and vote on skins.
<upload src="21/8db3fdf09187d59.png" size="3321019" name="image.png" />
To create a new skin, click Crate a new item on the top bottom left.
To create a new skin, click Create a new item on the top bottom left.
# Editing
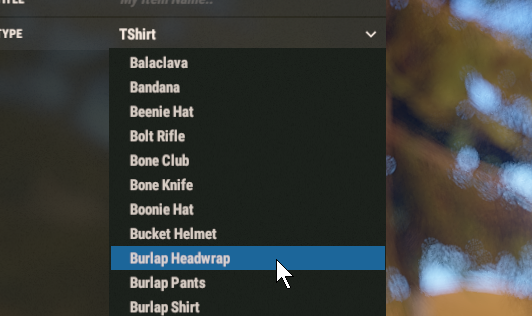
You can select the item you want to create a skin for on the left.

Clicking EDIT at the top of the column will switch to the texture editor. Hovering over stuff here should give you help.
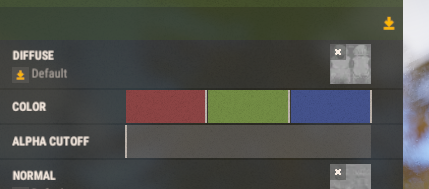
The diffuse texture is the texture that holds the color of the item.

* Clicking the texture square on the right will allow you to select a texture off disk.
* Clicking the cross will remove the texture (making it full white)
* You can reset to default by pressing the reset button on the right (not shown)
* Clicking the orange arrow on the left will download the original texture
When editing textures, it's a good idea to keep some things in mind.
* Keep the texture power of two, ie, 256x256, 512x512, 1024x1024.
* If in doubt, keep it the same size as the original texture
* You don't need to edit all of the textures
# Previewing
The preview section on the right has a number of buttons, which are all self explanatory - just press them to find out what they do.
You can look and fly around the scene on the right by holding down a mouse button and pressing your regular movement controls (default is wasd). You can zoom in and out by holding down both mouse buttons.
If you want a bigger area to take screenshots you can collapse the editor panel by pressing the green arrow near the top right of it.
# Publishing
Once you're ready to publish, open the publish tab. If the publish button is unclickable it's probably because you haven't given your item a name yet. You can do this on the ITEM tab.
When you publish your item should automatically open in your default browser. If you're not logged in, make sure to, and then you can add a description and more screenshots.
We politely ask that you keep your thumbnail as the default generated thumbnail, but ultimately we're unabled to enforce this.
 Garry's Mod
 Rust
Rust
 Steamworks
 Wiki Help