Creating your first particle effect
Opening the particle editor
The particle editor can be found in the Editor in the top toolbar.

Creating a new particle system file
You must first create a new particle system and save it within your addon.
- On the top left, press
Fileand selectNew, or use the shortcut ctrl+n - Save the file with
File->Saveor the shortcut ctrl+s - save it to a particles folder within your addon e.gsbox/addons/myaddon/particles/my_particle.vpcf
Creating our Emitter
Now that we have prepared our particle to be shown in the viewport, we can start working on it. The main settings you'll be playing with when creating particles is known as the Functions panel, it's located on the far left side of your application.
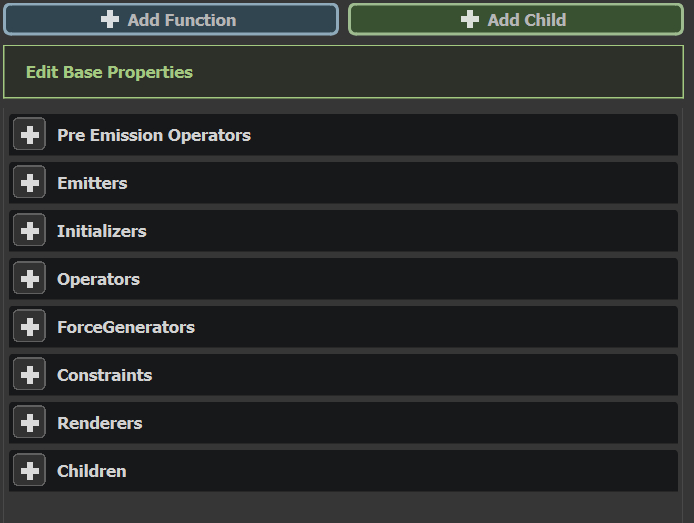
This is how you'll be controlling how your particle works and what it should do. Let's start by creating a basic particle. First press the + button next to Emitters:

A new dialogue will open up, this dialogue is the option you have which you can use for Emitters.
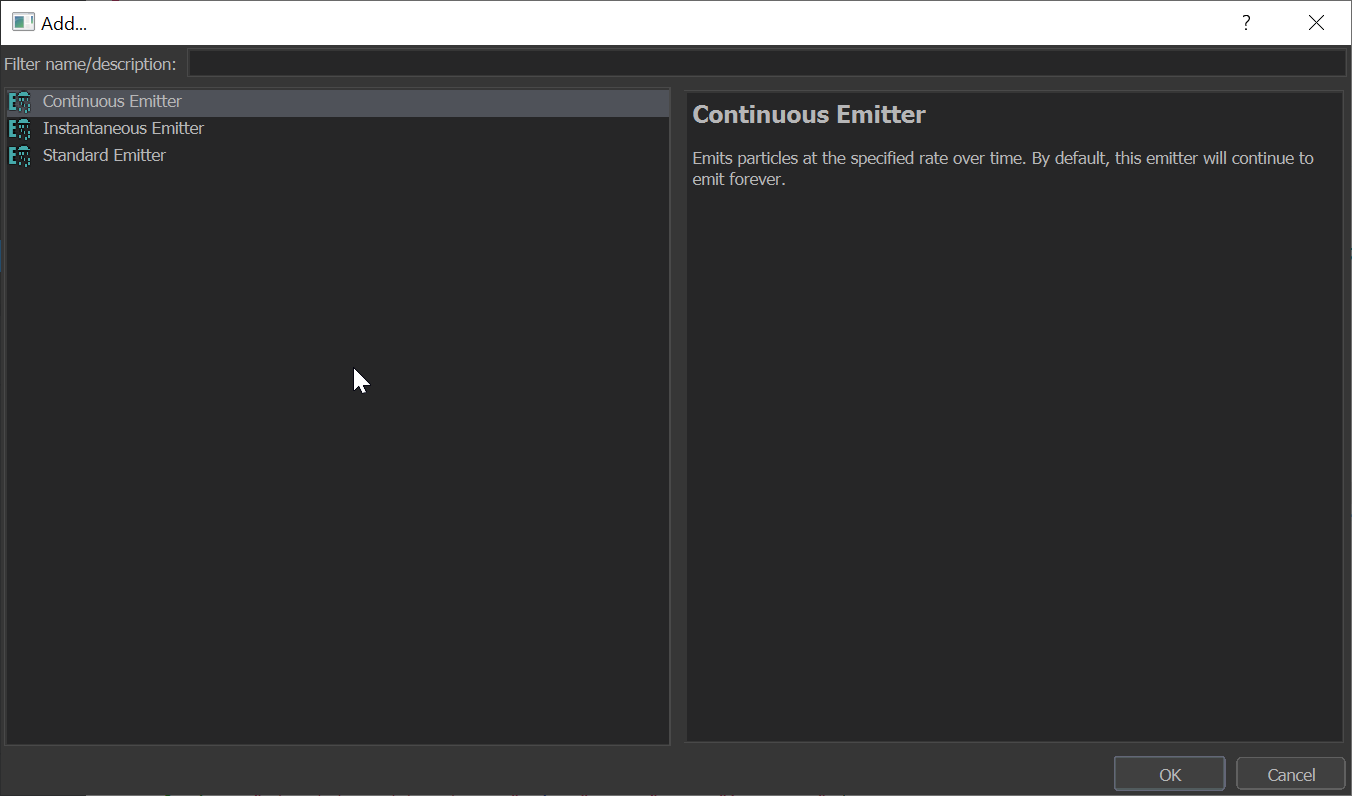
For our purpose, we're going to pick Continuous Emitter. This means we'll constantly keep creating particles forever.
A new panel should now be visible, this is known as the properties panel. It shows all of the fields we can modify for the current function.
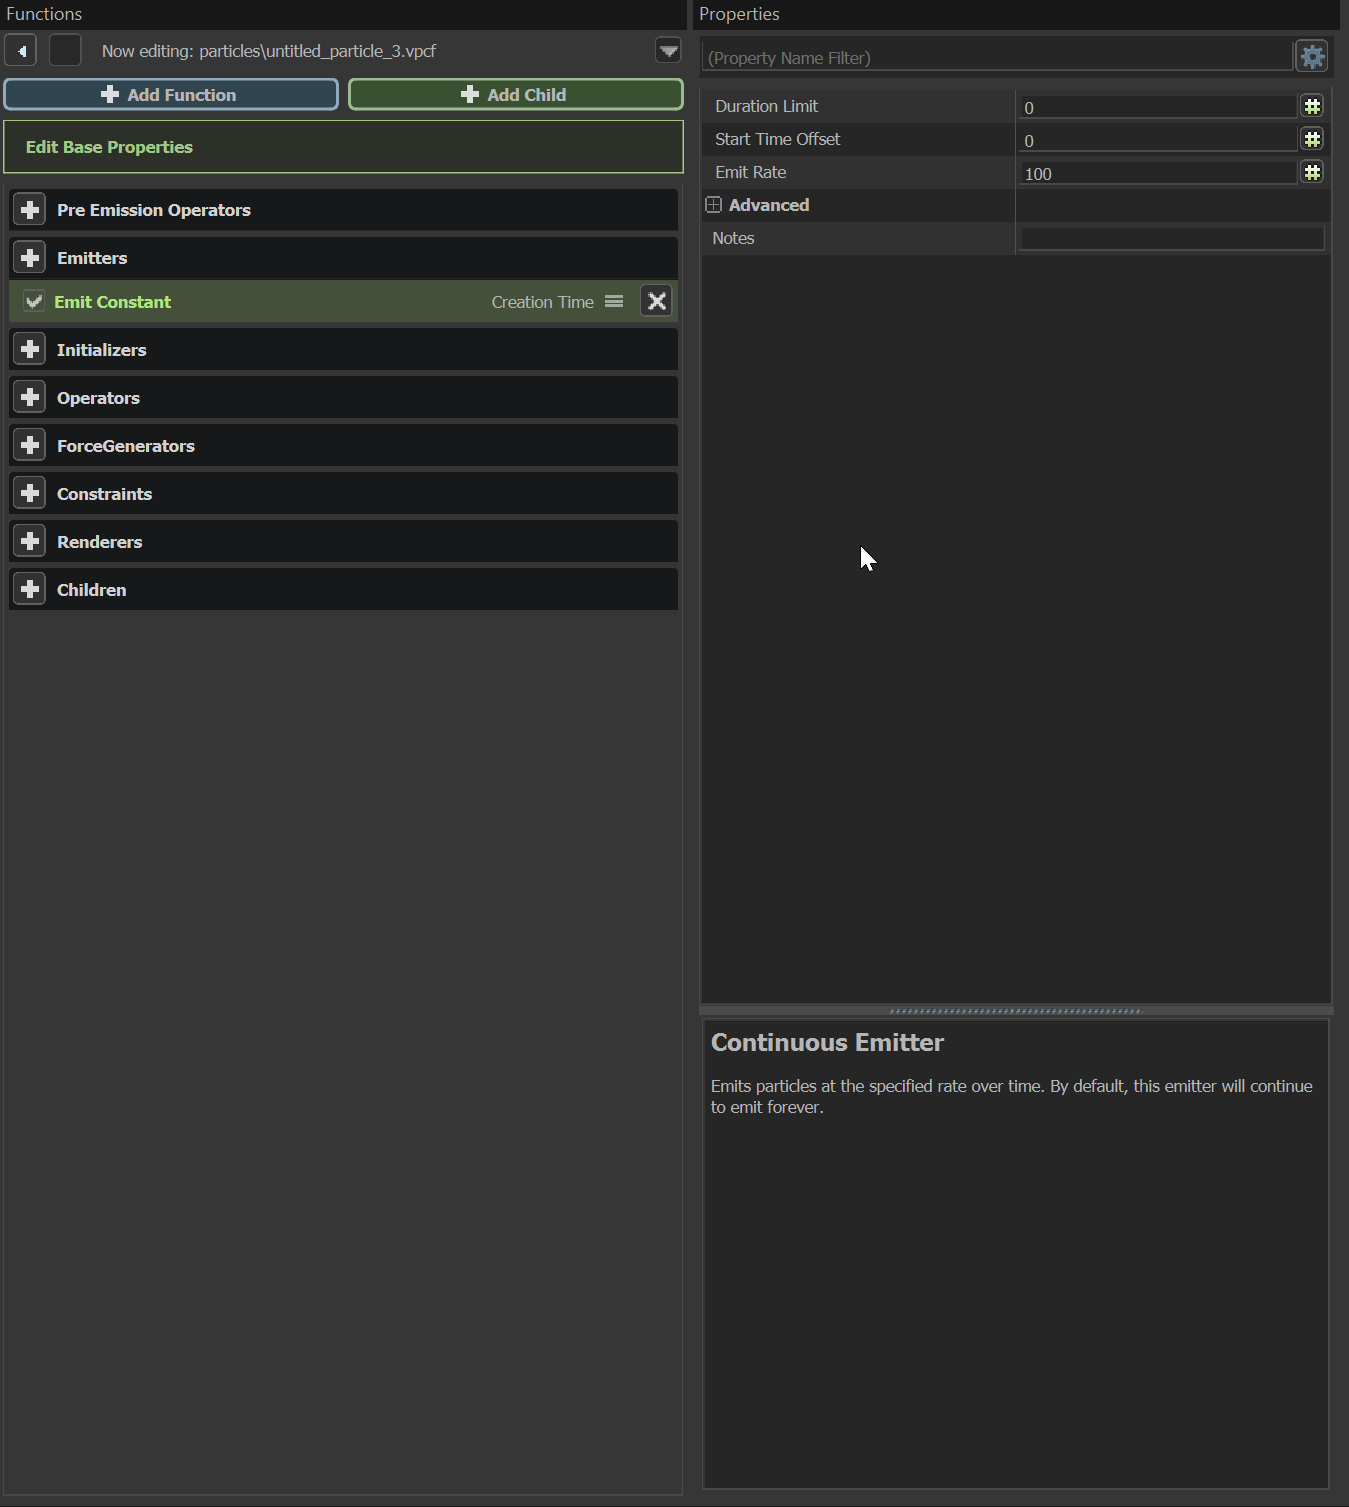
Each property listed here is for our Continuous Emitter which is named Emit continuously in our function panel.
Duration Limitis how long the emitter should keep emitting particles before stopping. 0 means to never stop.Start Time Offsetis how long of a delay there should be until the emitter starts.Emit Rateis how many particles should be spawned per second. For right now we'll keep these all default.
Creating our renderer
A renderer is how to represent our particles. There are multiple different renderers but we're going to focus on the most basic one, which is the Sprite Renderer.
To create a renderer, we click the + button next to Renderers

A new dialogue will open up, this dialogue is to specify which different types of renderers we can use. We're going to pick Sprite Renderer
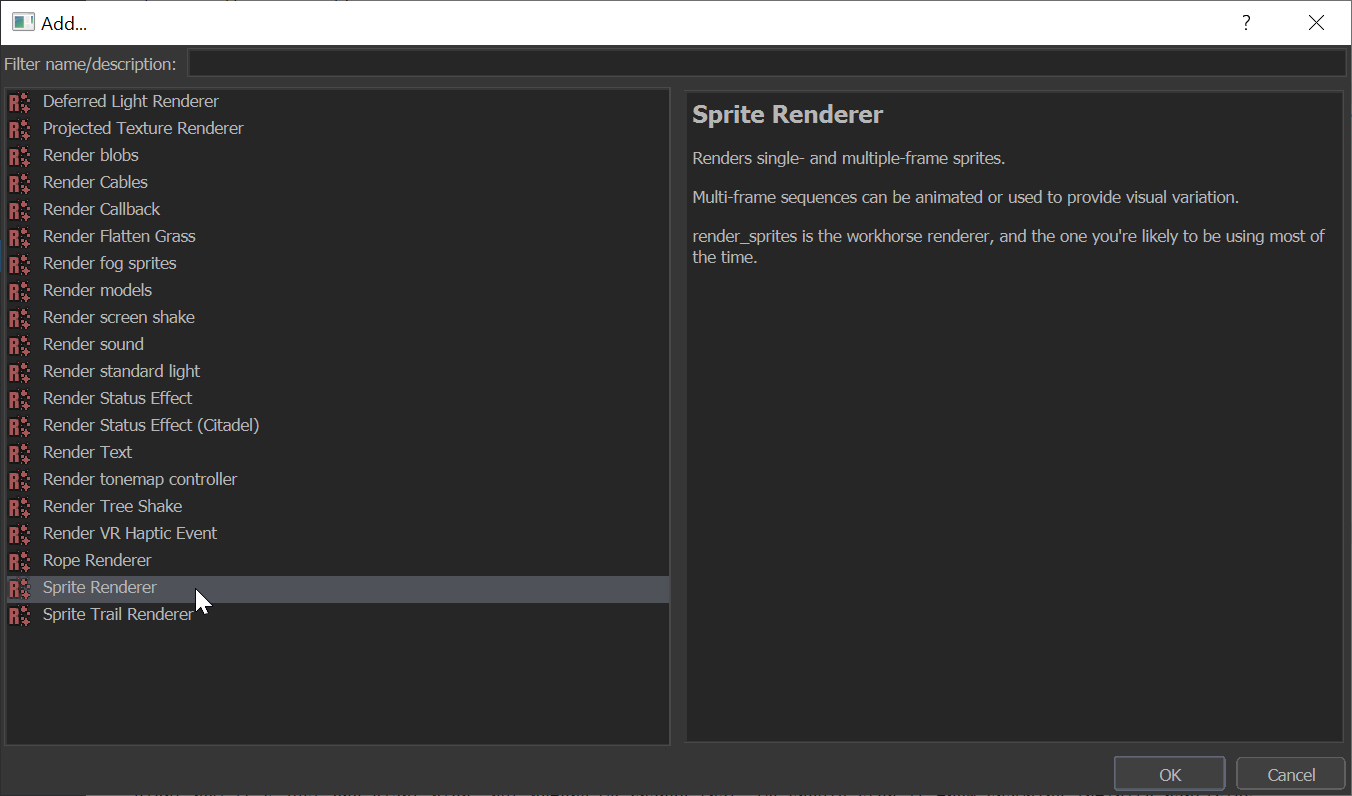
Doing so you should now see your particles appear in the viewport
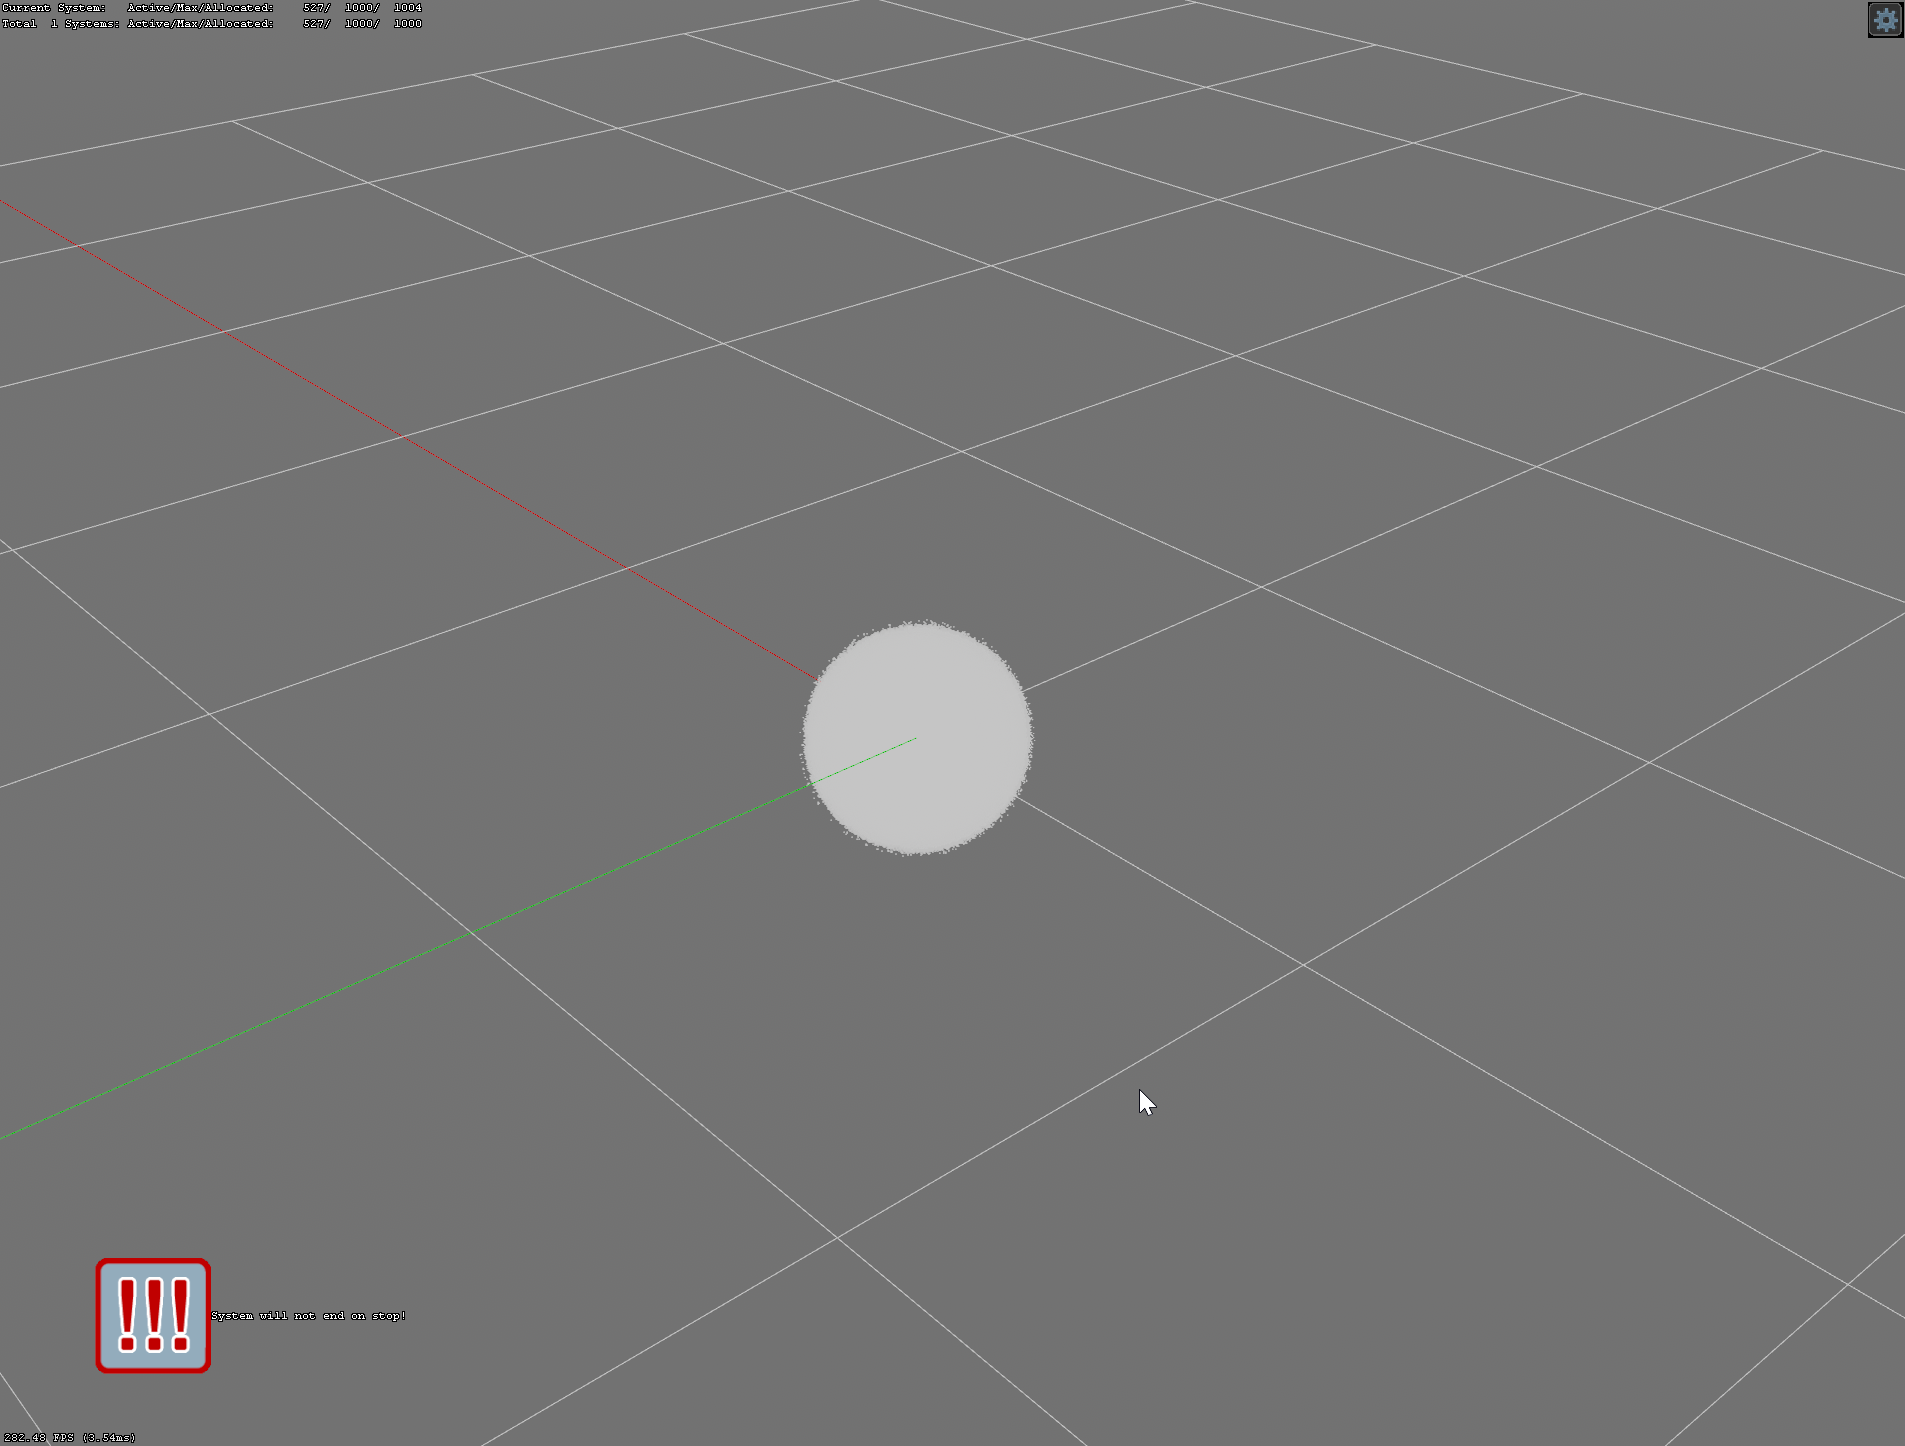
Right now it's just one giant blob, but before we change that, we should stop it from spawning infinite particles.
Particle operators
Particle operators are operations that are applied to your particles. These operations are applied to change specific operators of the particle. The one we're going to focus on is Alpha Fade and Decay. This operator will make our particle fade in, exist for a little bit, fade-out, and become killed. To create a new operator, press the + button next to Operators.

Just like before, we're going to look for Alpha Fade and Decay
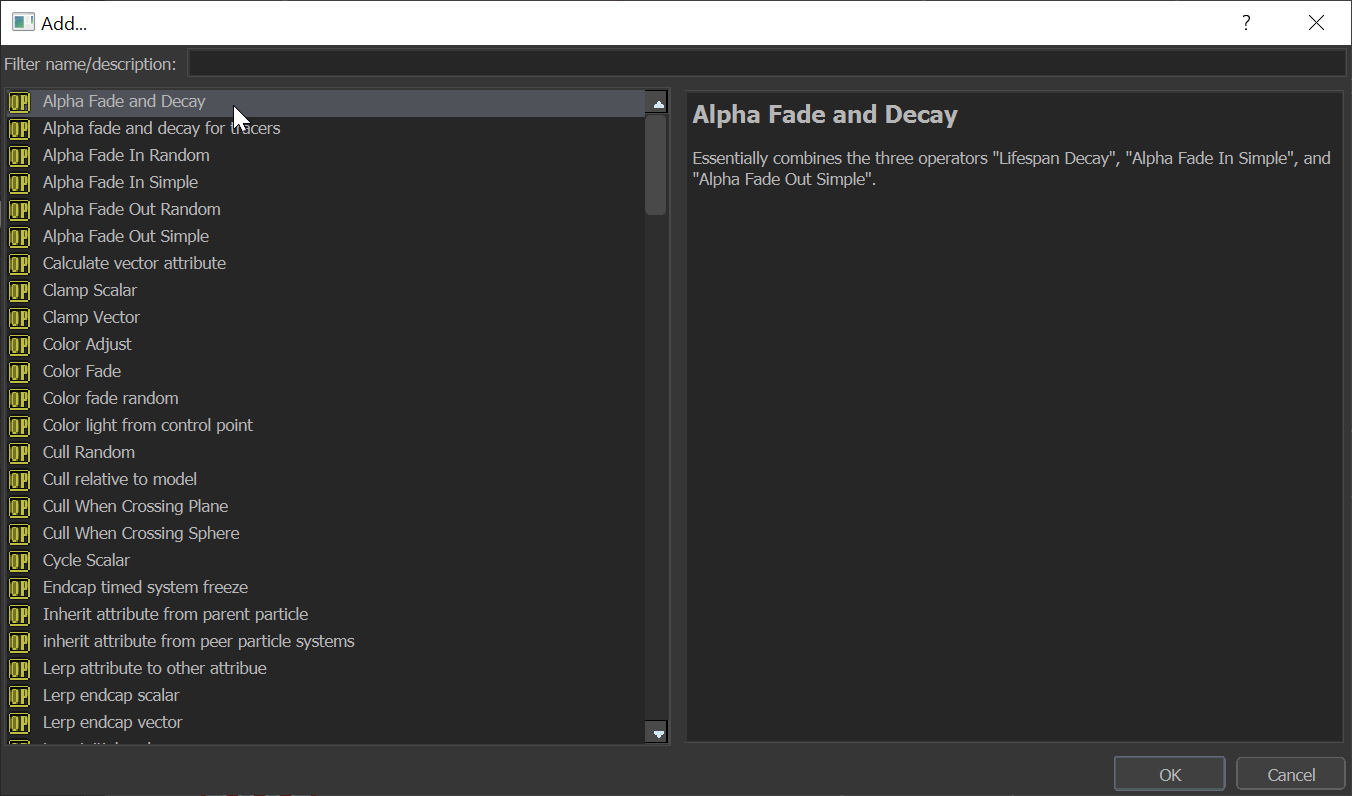
It might not look like anything happens, but if we click the Restart Sim button on our toolbar you'll notice our particle fades in!

Now we can't really see our particles fading out because of how bunched together they are, however, we can fix this with Initializers!
Particle Initializers
Particle initializers are properties which are set when a particle is initialized or created. You can set all sorts of properties here, but what we're going to do in our example particle, is to position our particles within a ring. Like before, let's create an initializer by pressing the + button next to Initializers.

We're going to look for Position In Ring. Position in ring does exactly as the name suggests, it places all of our particles within a ring or a doughnut.
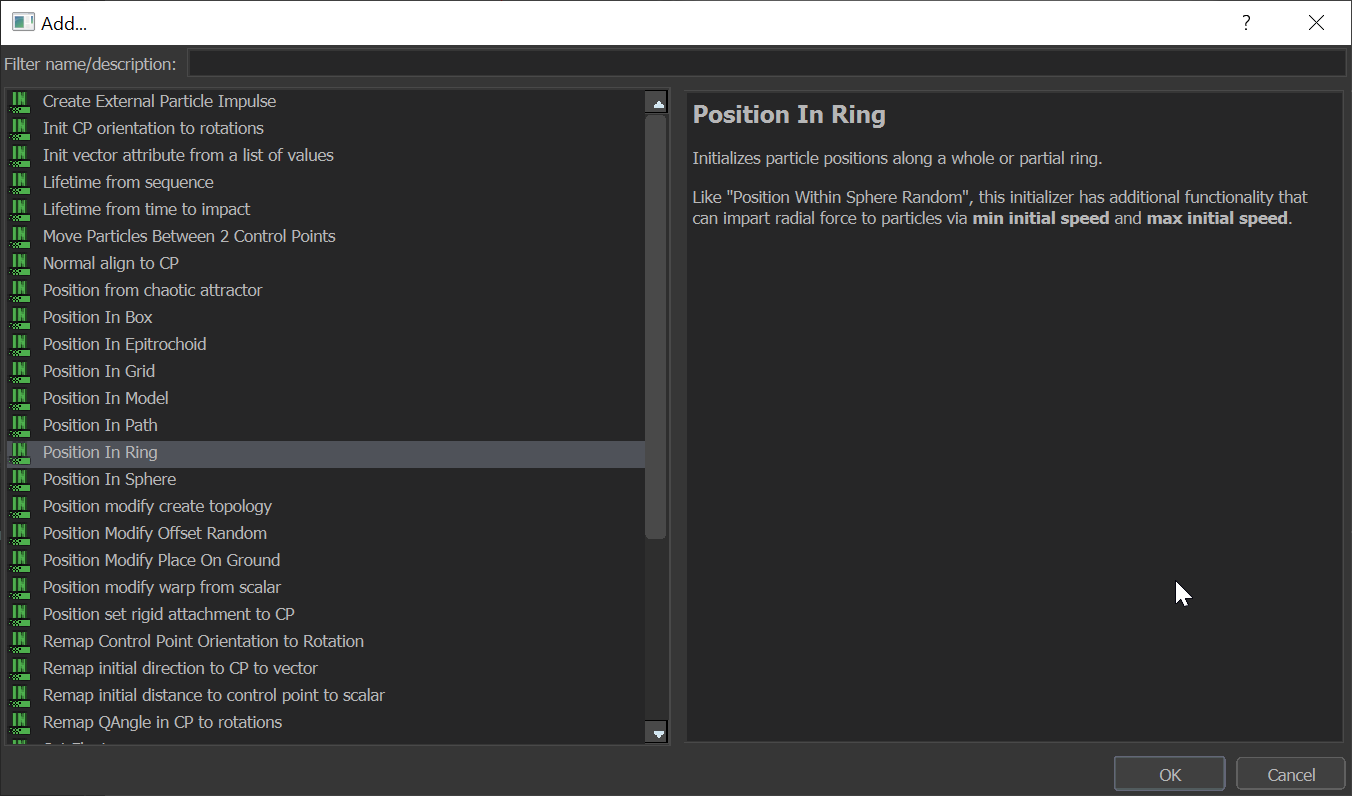
Now your particle might look the same
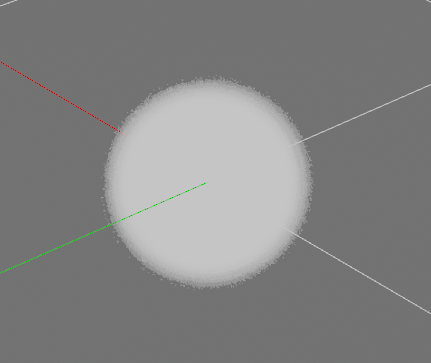
This is where the properties come in which we mentioned before, with Position In Ring selected:

Update the initial radius property and set it to a number like 20 and press enter
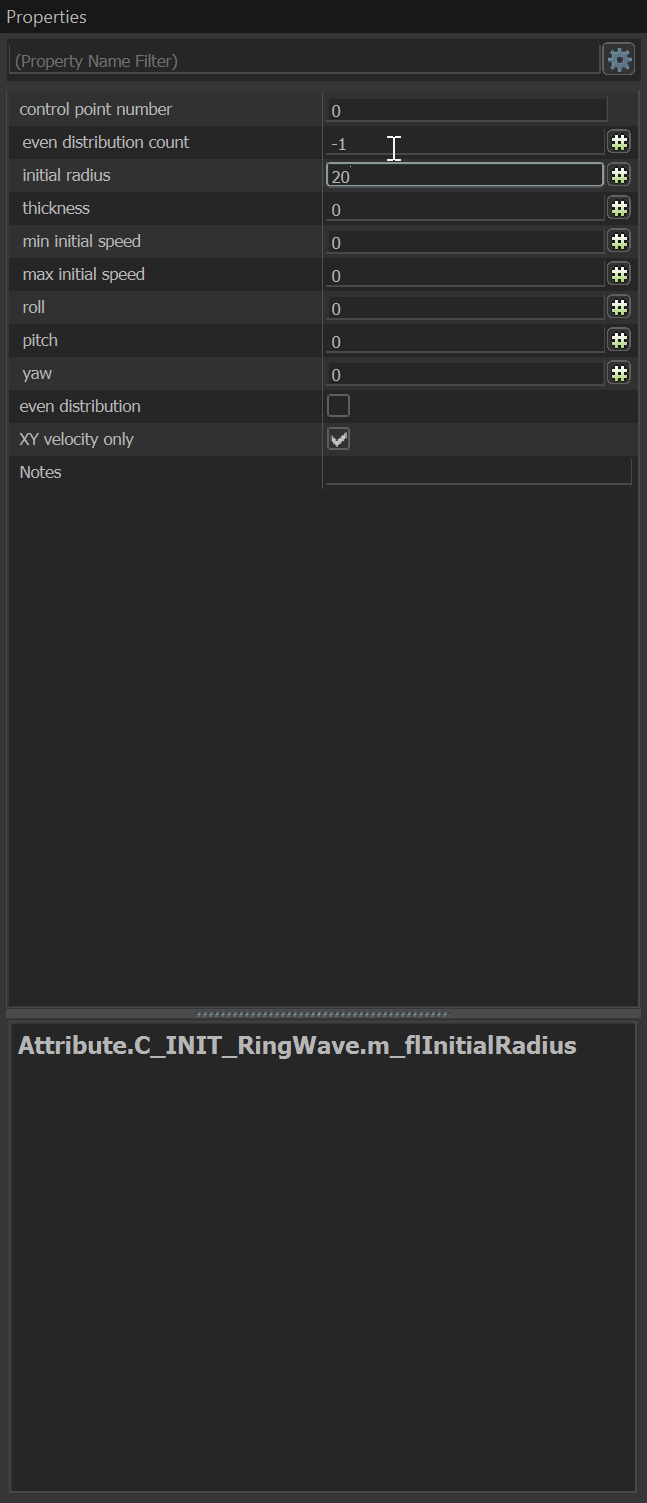
You should now have a working particle!
Spicing up the sprites
You can play with the properties on the functions you've added. Here's a few suggestions for what you can do:
- On
Render spriteschange thecolor blend, and theradius scaleproperties. - On
Emit Continuouslychange theemission rateproperty to spawn more or less particles. - On
OperatoraddMovement Basicand play with thegravityproperty (try setting it to 0, 0, 40) - Add a custom sprite. Follow the wiki guide here: Using custom sprites
 Garry's Mod
 Rust
Rust
 Steamworks
 Wiki Help
 S&box
S&box