Creating animated sprites
This page assumes that you know how to create a particle effect using the sprite renderer. If you do not, you can follow this wiki page: Creating your first particle effect
Flipbook Texures
Before we get started you will need a flipbook texture.
A flipbook texture is a single image containing each frame of an animation laid out in a grid.
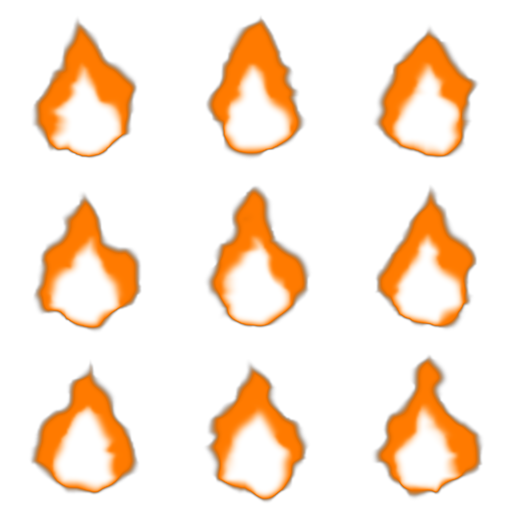
Flipbook texture example
If you're using a .png and it's not showing up, make sure you're not exporting it as a "Smaller File (8-bit)" .png
Creating a .vtex file
Now that we have our flipbook texture, we need to create a .vtex file, so we can use it in the Sprite Renderer.
- Right click the flipbook texture in the asset browser and select
Create Texture, save it with the desired name and location. - In the Texture Editor, press the
Edit more...button to the right of the Sequence filepath.
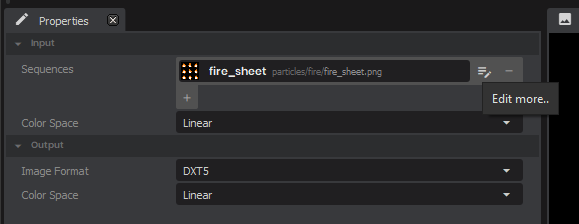
- Tick the Flipbook checkbox and set the rows and columns to match your flipbook texture.
- Press
Doneto close the sequence editor and then save the Texture.
Using the animated sprite
- Select your new animated texture in the
textureproperty on the Sprite Renderer - Increase the
animation rateproperty on the Sprite Renderer
Congratulations! You have just created and used your first animated sprite in the Particle Editor!
Example of an animated sprite
 Garry's Mod
 Rust
Rust
 Steamworks
 Wiki Help
 S&box
S&box