Setting Up Networking
Setting Up The Scene
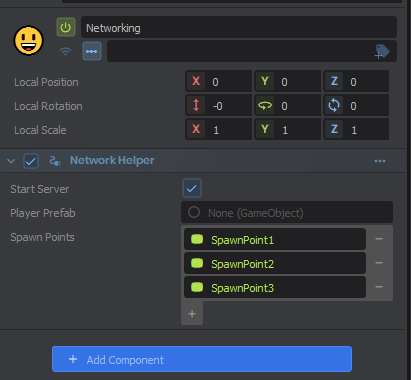
Create a GameObject and give it the Network Helper component. The NetworkHelper component is an provided example of how to handle setting up a server and spawning players. It requires a prefab for the player and spawn points in the scene. Create several more empty GameObjects to act as spawn points and drag them into the Network Helper.
Creating A Player
Create a separate GameObject and give it a SkinnedModelRenderer. Then create a new component and add the following code.
This is a simple player component which will change the model's colour whenever the space bar is pressed (make sure to setup the colours in the editor). There are two key networking related parts to this code. The ColorIndex value has a [Sync] attribute. This allows for the value to be networked across all clients. More information can be found here.
The update function also checked for IsProxy. This value will be true if the GameObject currently being updated is owned by a different client or none at all. Details on ownership in general are on the docs here.
Once you've set the player up, save it as a prefab and then place it into the NetworkHelper.
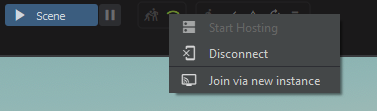
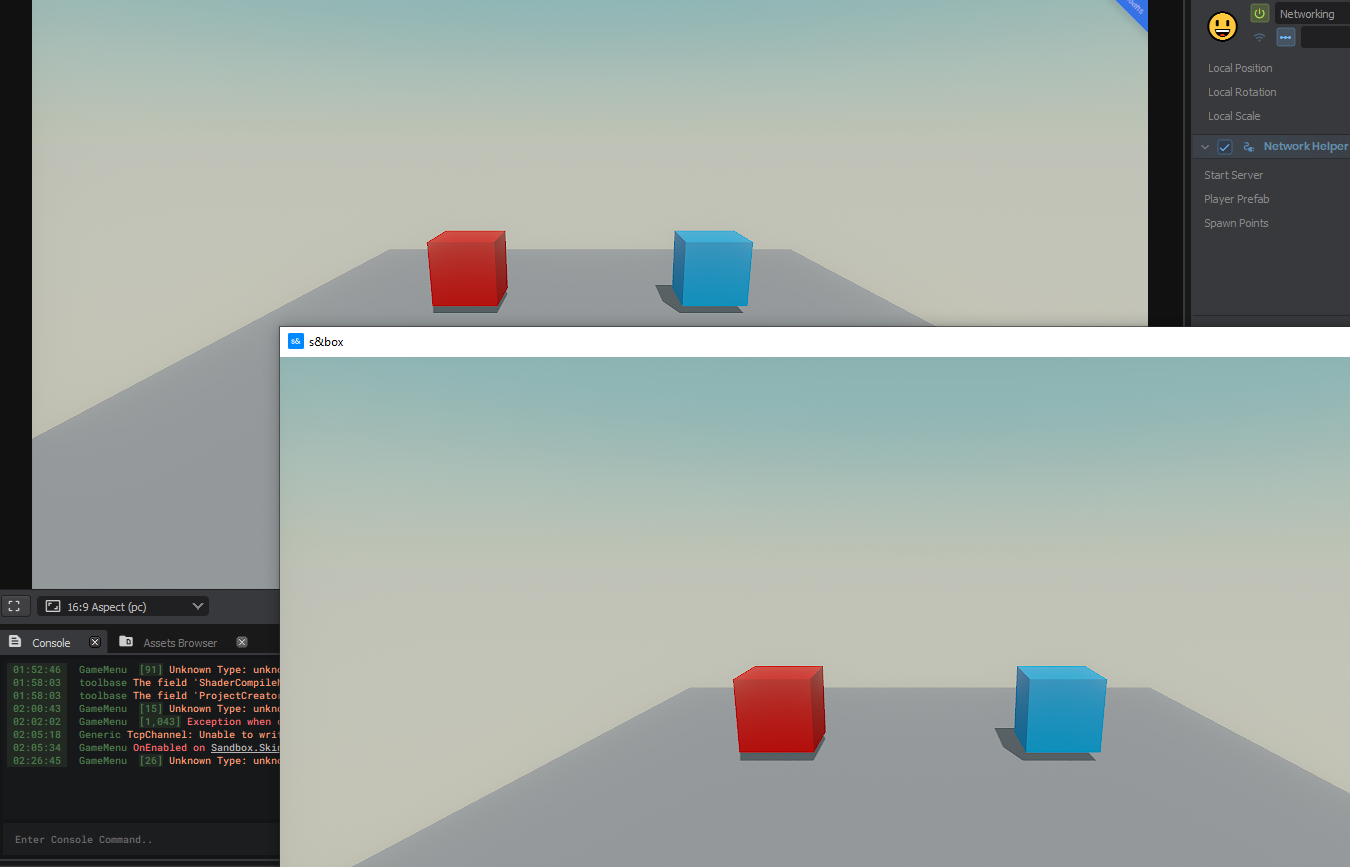
You can now run the game in the editor and open a new instance to test the multiplayer.
Documentation
A cheat sheet for networking can be found here on the official documentation.
 Garry's Mod
 Rust
Rust
 Steamworks
 Wiki Help
 S&box
S&box